Overview
The Inventory Tag Control submodule provides tools for managing the lifecycle of inventory tags during a physical count. This system integrates with DASH’s broader inventory tracking infrastructure, including pallet ID tags (license plates) used in production and warehouse operations. Physical inventory tags serve as the bridge between system records and actual warehouse counts, enabling teams to systematically verify quantities and resolve discrepancies between perpetual inventory and physical stock. Each tab supports a specific step in the tag handling process, ensuring accurate count tracking, validation, and closure for each team:- Check-out Tags: Issue tag ranges to counting teams.
- Return Tags: Scan and return completed tags.
- Void Tags: Void damaged or invalid tags.
- Audit Tags: Verify tag accuracy through audits.
- Open Tags: View all currently open tag batches.
- Large Discrepancies: Review and resolve count variances.
- Team Closure: Close teams after all tags are reconciled.
Check-out Tags
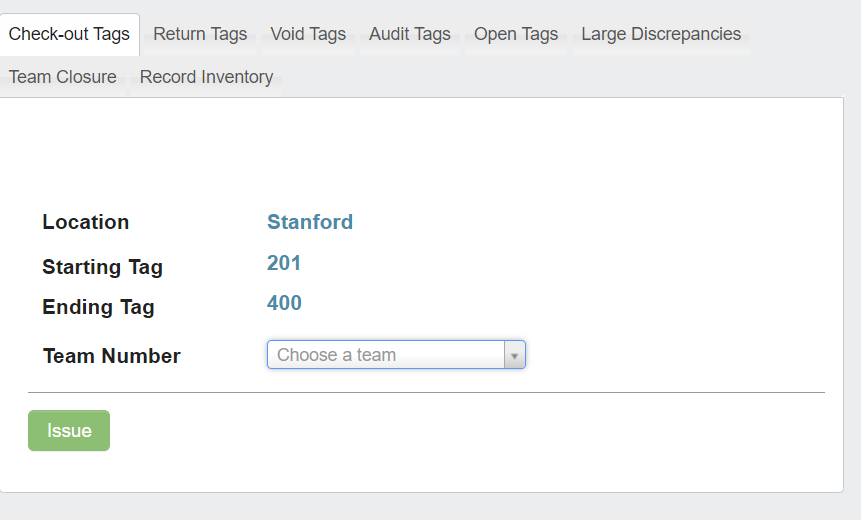
Check-out Tags tab lets you issue tag ranges to counting teams. This ensures accountability by tracking which team is responsible for counting specific areas or items.
To check out a tag:
- Select a team number from the dropdown window.
- Click the
Issuebutton to issue the tags.
If you are attempting to issue tags to a team that already has tags checked out, you will receive an error message and will be unable to issue the new tags. This prevents double-assignment and maintains clear accountability for each tag range.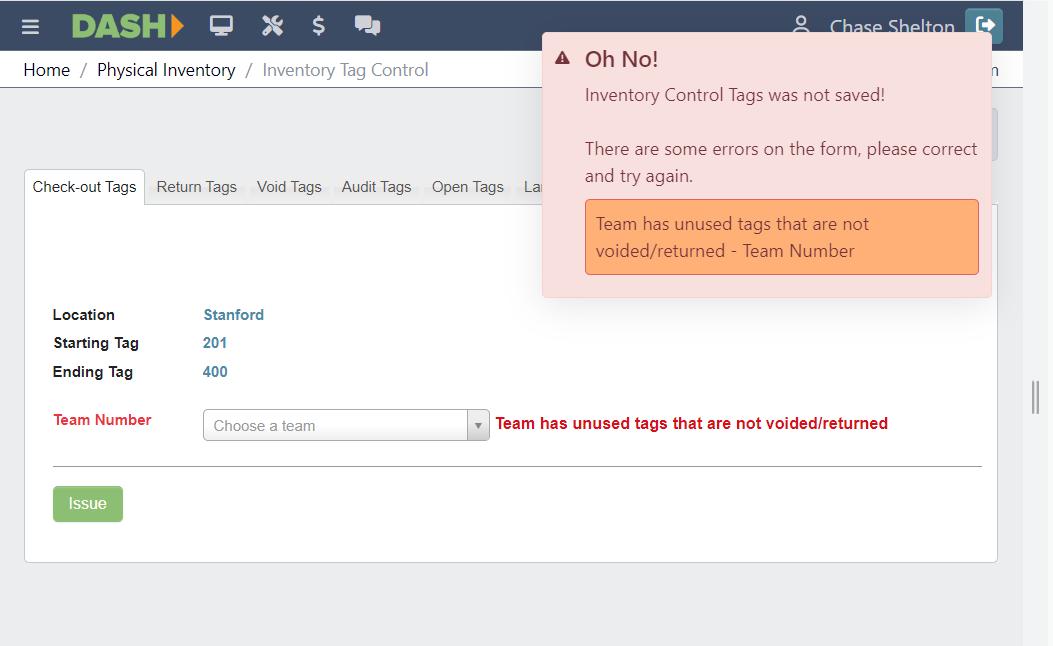
Return Tags
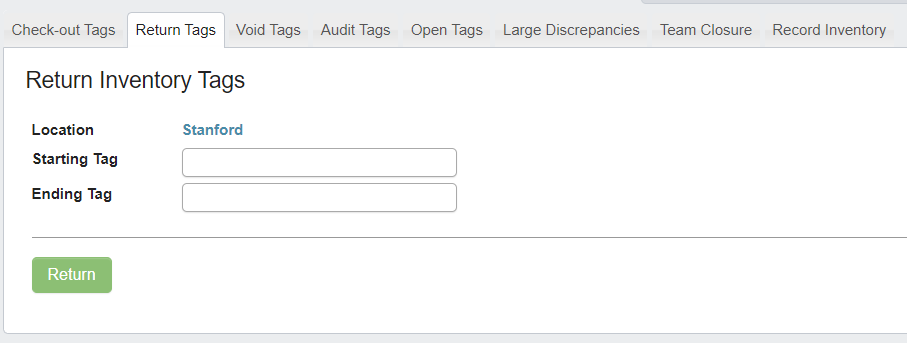 The
The Return Tags tab lets you scan and return completed tags after counting is finished. This step validates that the assigned work has been completed and the tags are ready for processing.
To return a tag:
- Scan your starting tag. You cannot manually enter in the tag number in this field.
- Scan your ending tag.
- Click the
Returnbutton. You should see a message letting you know the inventory tags were successfully returned.-
If you scan an invalid or already returned tag, you will receive an alert message and the tags will not be returned.
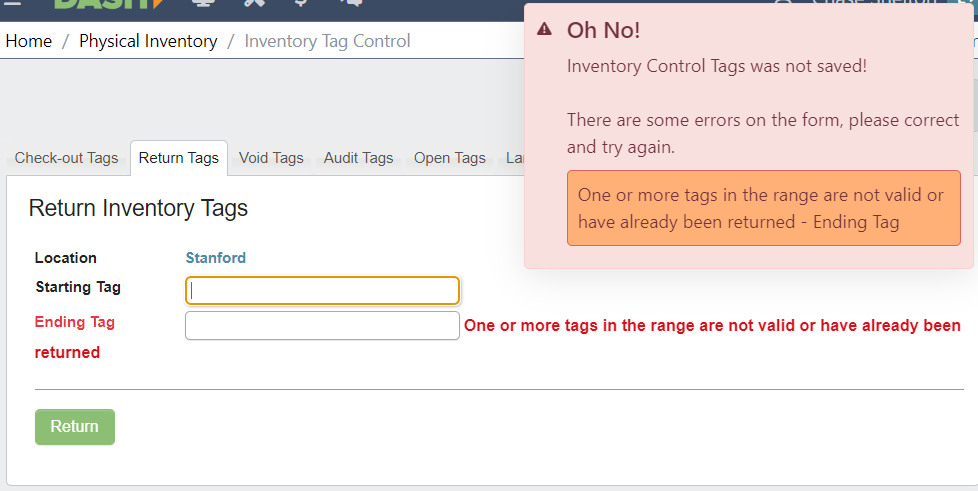
-
If you scan an invalid or already returned tag, you will receive an alert message and the tags will not be returned.
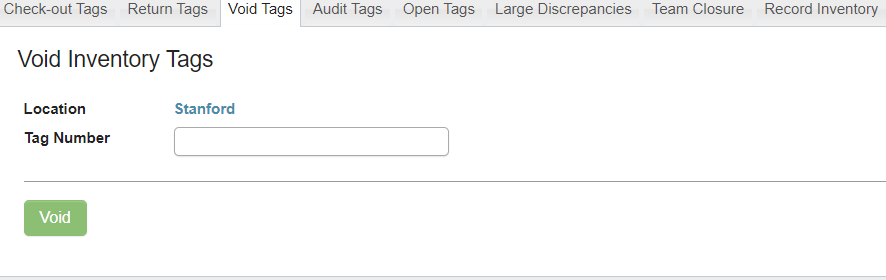
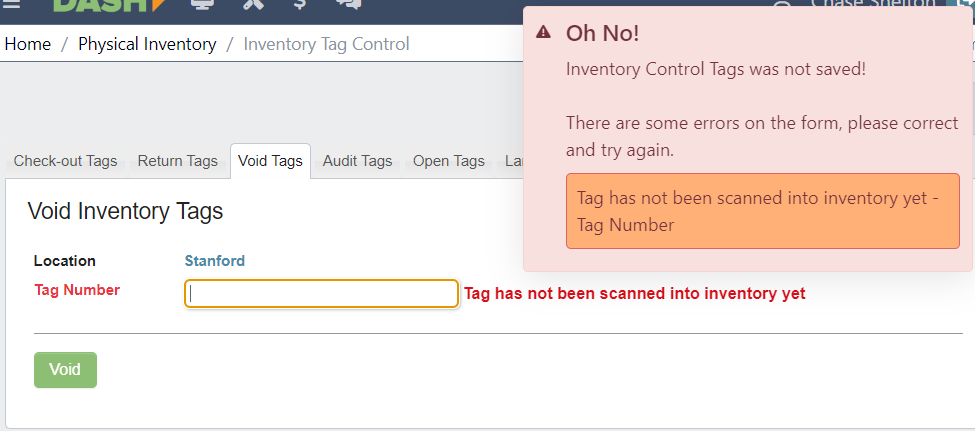
Void Tags
 The
The Void Tags tab lets you void damaged or invalid tags. This is essential when tags become unreadable, are lost, or contain errors that make them unusable for counting.
To void a tag:
- Scan the tag you want to void. You cannot manually enter in the tag number in this field.
- Click the
Voidbutton. You should receive a message that the tag was voided successfully.-
If you attempt to void an invalid tag, you will receive an error message and the tag will not be saved.
-
If you attempt to void an invalid tag, you will receive an error message and the tag will not be saved.
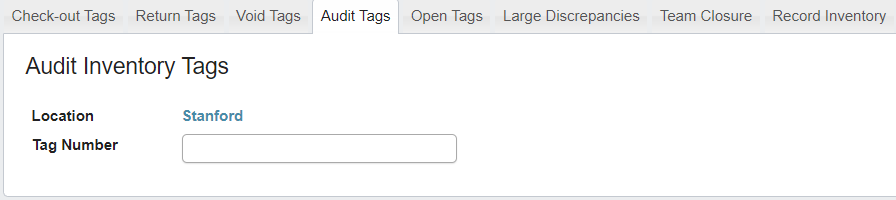
Audit Tags
 The
The Audit Tags tab lets you verify tag accuracy through a secondary review process. This quality control step helps ensure counting accuracy before finalizing inventory adjustments.
To audit a tag:
-
Scan the tag you want to audit. The information associated with the tag should populate on the page, along with a
Audit GoodandAudit Badbutton.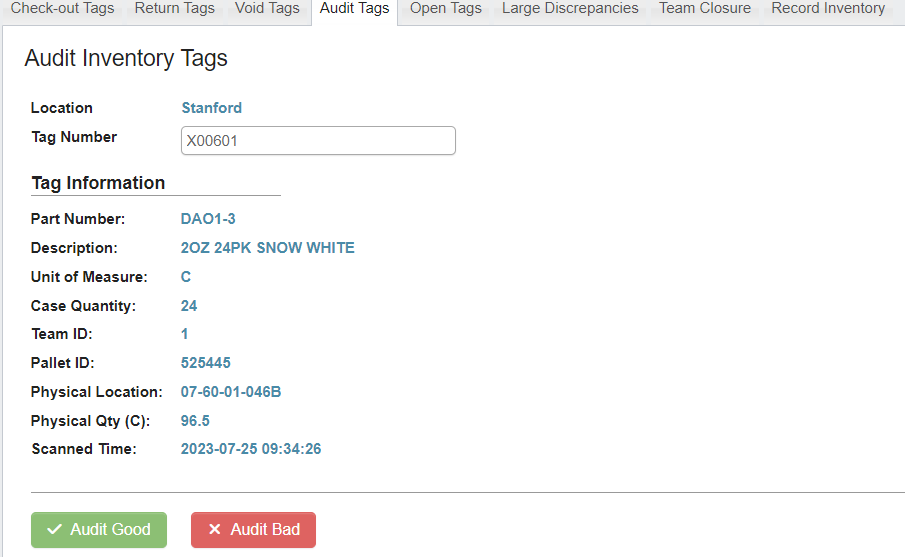
-
If the count for the pallet is correct, click on the
Audit Goodbutton. You will receive a message that the inventory was successfully audited. -
If the count for the pallet is incorrect, click the
Audit Badbutton. The control tag will automatically be voided and you will need to re-issue another one.
Open Tags
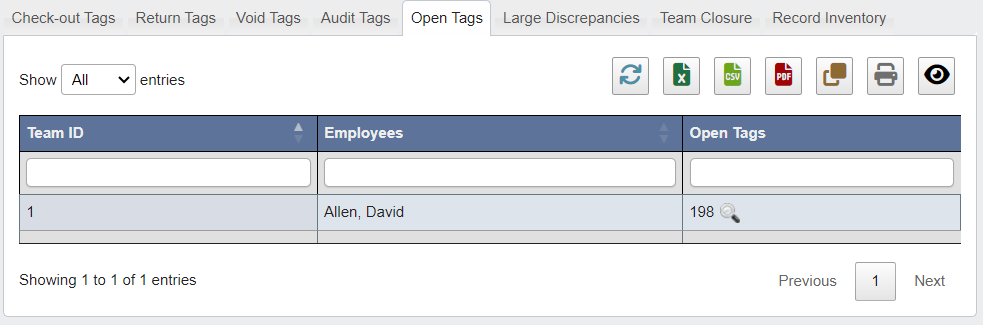 The
The Open Tags tab has a table filled with all of the current batches of open tags. Each batch of open tags in the table has a magnifying glass button to view which of the assigned tags are currently open.
To view the list of open tags, click on the magnifying glass next to the set of tags you want to see.
Large Discrepancies
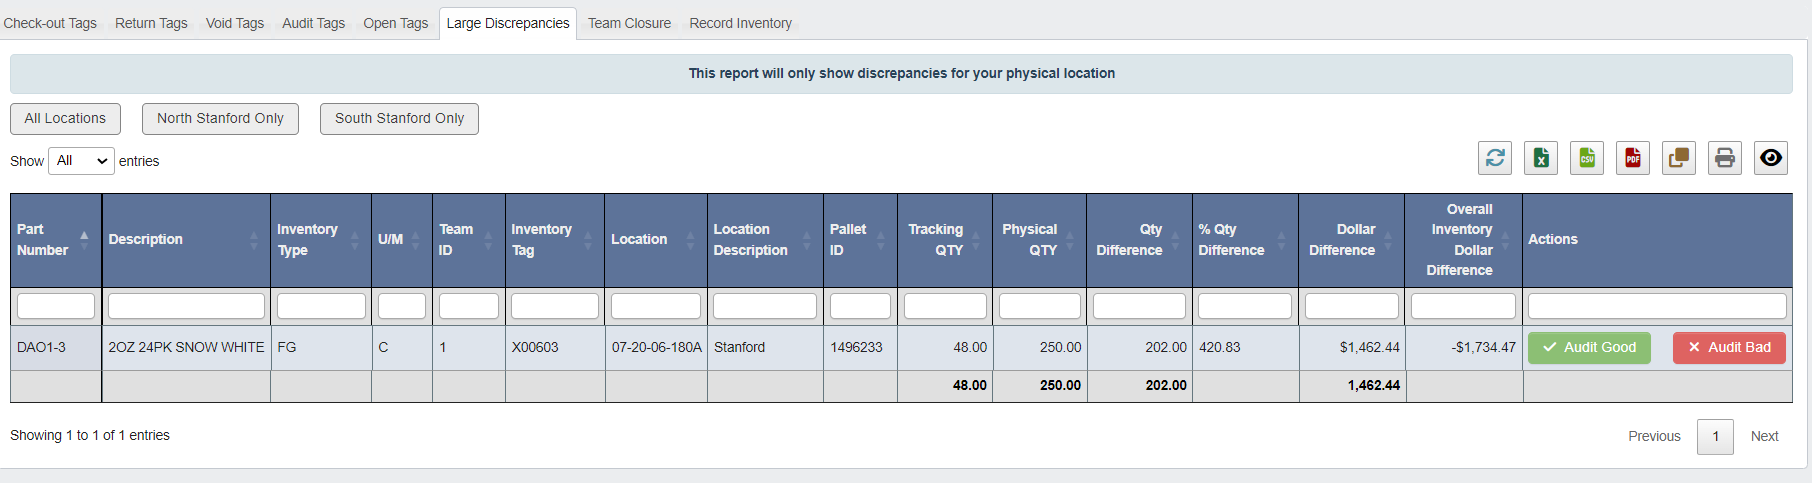 The
The Large Discrepancies tab has a table filled with any pallets that have a large discrepancy between the tracked quantity (system record) and physical quantity (actual count). This focuses attention on the most significant variances that require investigation.
Filter the table by location using the buttons above the table. When reviewing the table you can use the Actions column to audit the quantities.
- If the physical quantity count is good, click the
Audit Goodbutton. - If the count is bad, click the
Audit Badbutton and the item will be removed from the table.
Team Closure
 The
The Team Closure tab has a table filled with all the current teams. Each item in the table has a Close Team button. This final step ensures all counting work is complete and provides an audit trail of who completed what work.
To close a Team
- Click the
Close Teambutton. You will receive a pop up confirming you wish to close the team. - Confirm you want to close the team. The table will be populated with information showing when and who closed the team.