Overview
The Administration → Manage Companies submodule provides administrators with comprehensive tools for configuring and maintaining company structures, user management, and system-wide settings within DASH. This submodule handles multi-company setups, user permissions, organizational structures, and system configurations that support business operations across different entities.Companies

Add New Company
-
Click
+ Add Newto create a new company. -
Enter the company details. See Administration Reference for definitions.
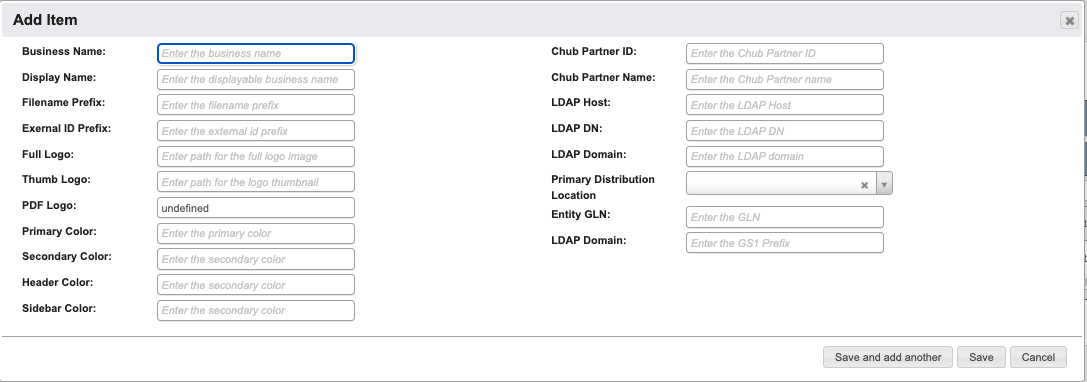
-
When you have filled in the details, click:
Save and add anotherto add another company.Saveto save the details and go back to the table.Cancelto close the window and go back to the table.
Departments
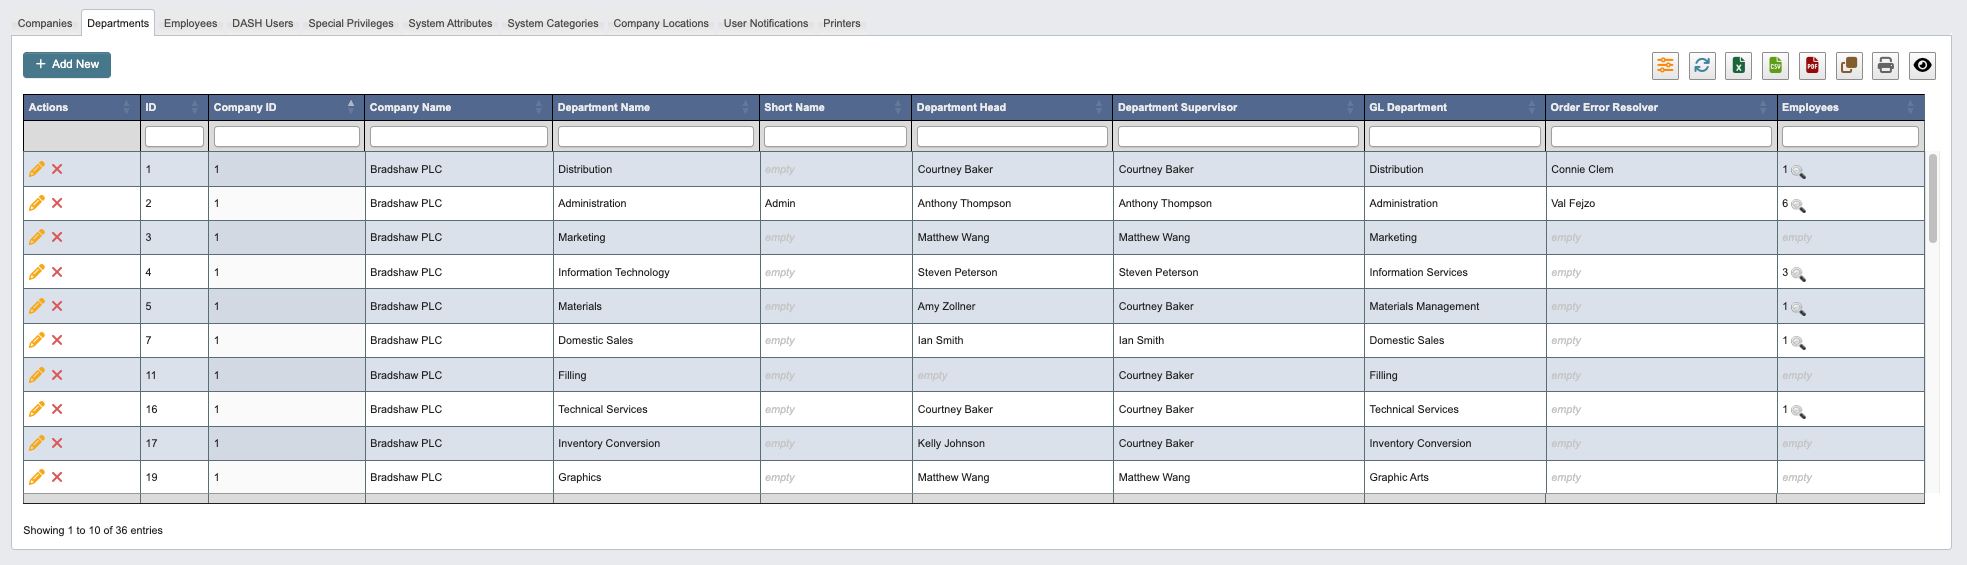
Add New Department
-
Click
+ Add Newto create a new department. -
Enter the department details. See Administration Reference for definitions.
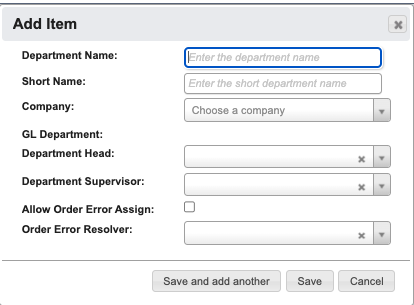
-
When you have filled in the details, click:
Save and add anotherto add another department.Saveto save the details and go back to the table.Cancelto close the window and go back to the table.
Employees
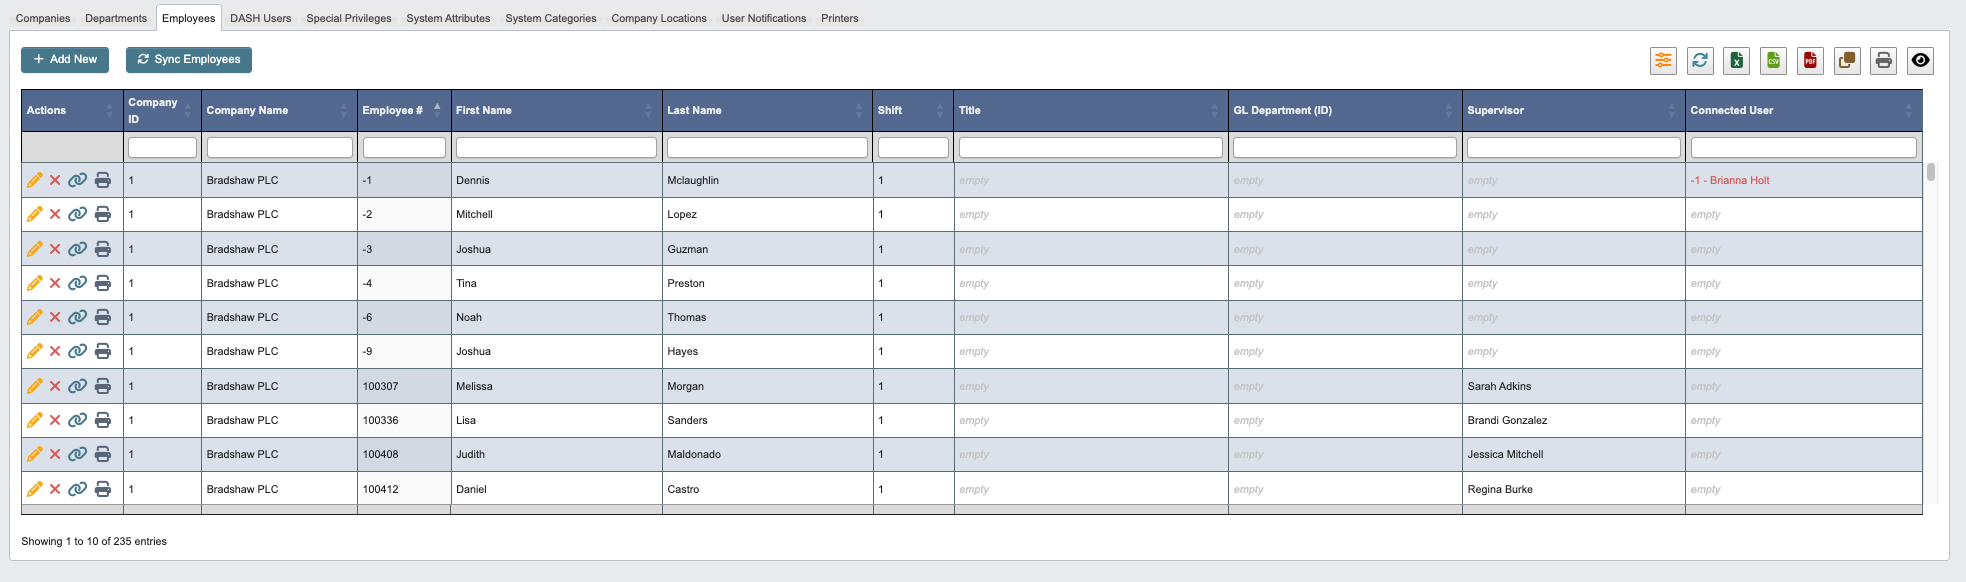
Sync Employees to import new employees from external systems or bulk upload employee data when setting up the system or during organizational changes.
Add New Employee
-
Click
+ Add Newto create a new employee. -
Enter the following employee details:
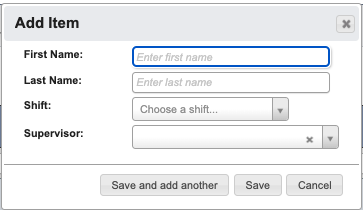
First Name: Enter employee’s first name.Last Name: Enter employee’s last name.Shift: Choose shift from dropdown.Supervisor: Choose employee’s supervisor.
-
When you have filled in the details, click:
Save and add anotherto add another employee.Saveto save the details and go back to the table.Cancelto close the window and go back to the table.
DASH Users
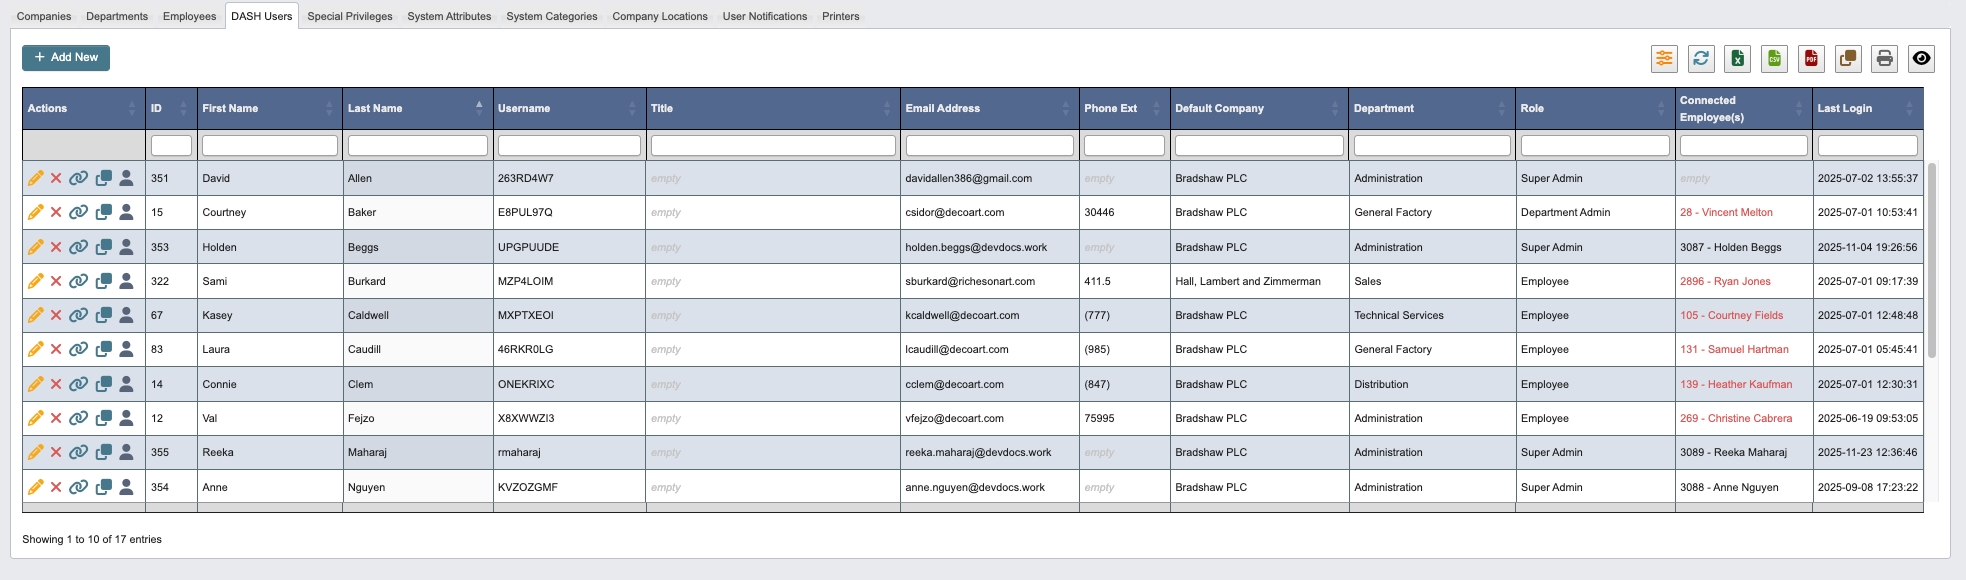
Add New DASH User
-
Click
+ Add Newto create a new DASH User. -
Enter the DASH User details. You will also need to assign navigational access and any special privileges the user requires. Use the Company dropdown to apply these settings to one or more companies as needed.
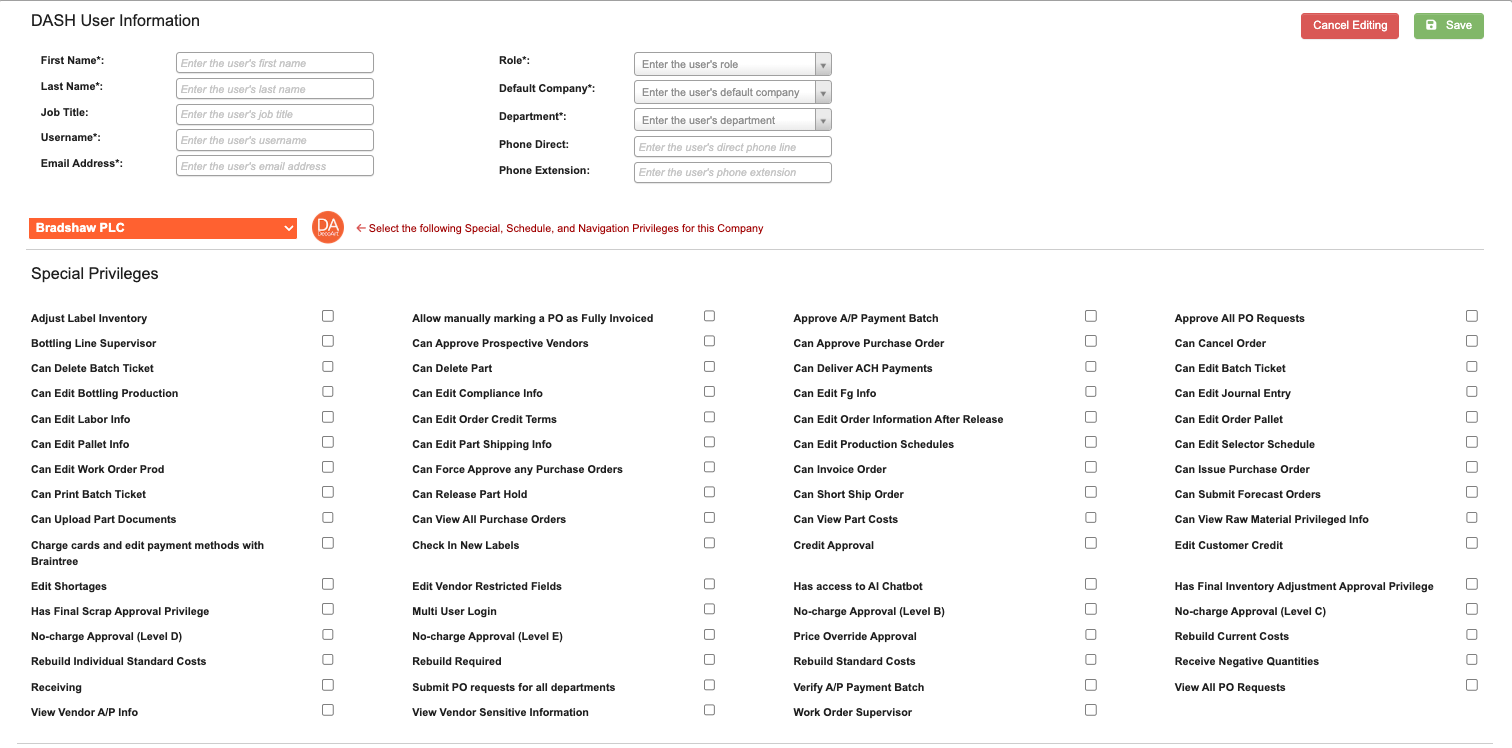
-
When you have filled in the details, click:
Save and add anotherto add another DASH User.Saveto save the details and go back to the table.Cancelto close the window and go back to the table.
Special Privileges
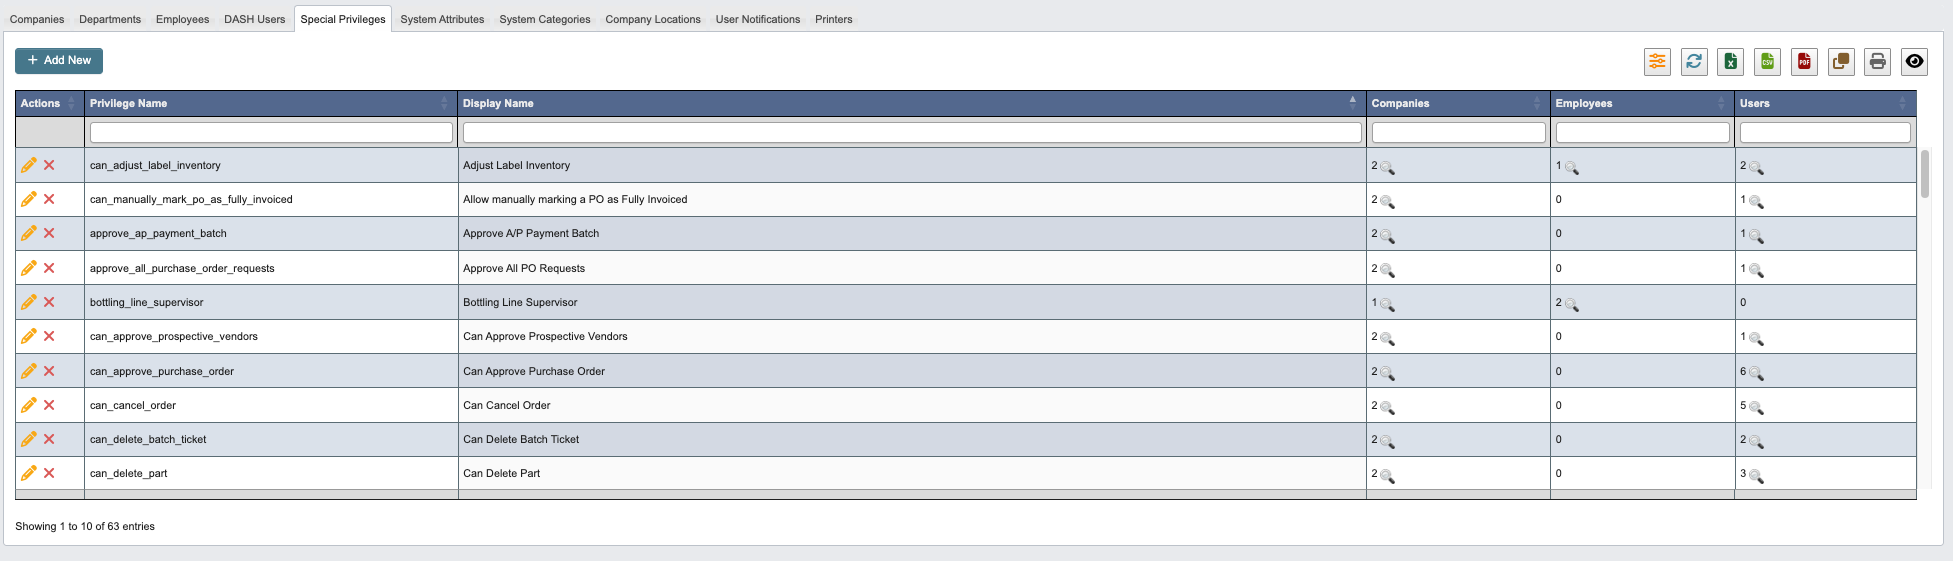
Add New Special Privilege
-
Click
+ Add Newto create a new Special Privilege. -
Enter the following Special Privilege details.
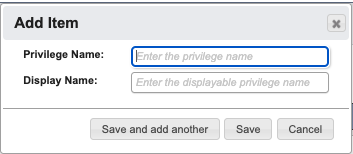
Privilege Name: Enter the privilege name.Display Name: Enter the displayable privilege name.
-
When you have filled in the details, click:
Save and add anotherto add another Special Privilege.Saveto save the details and go back to the table.Cancelto close the window and go back to the table.
System Attributes
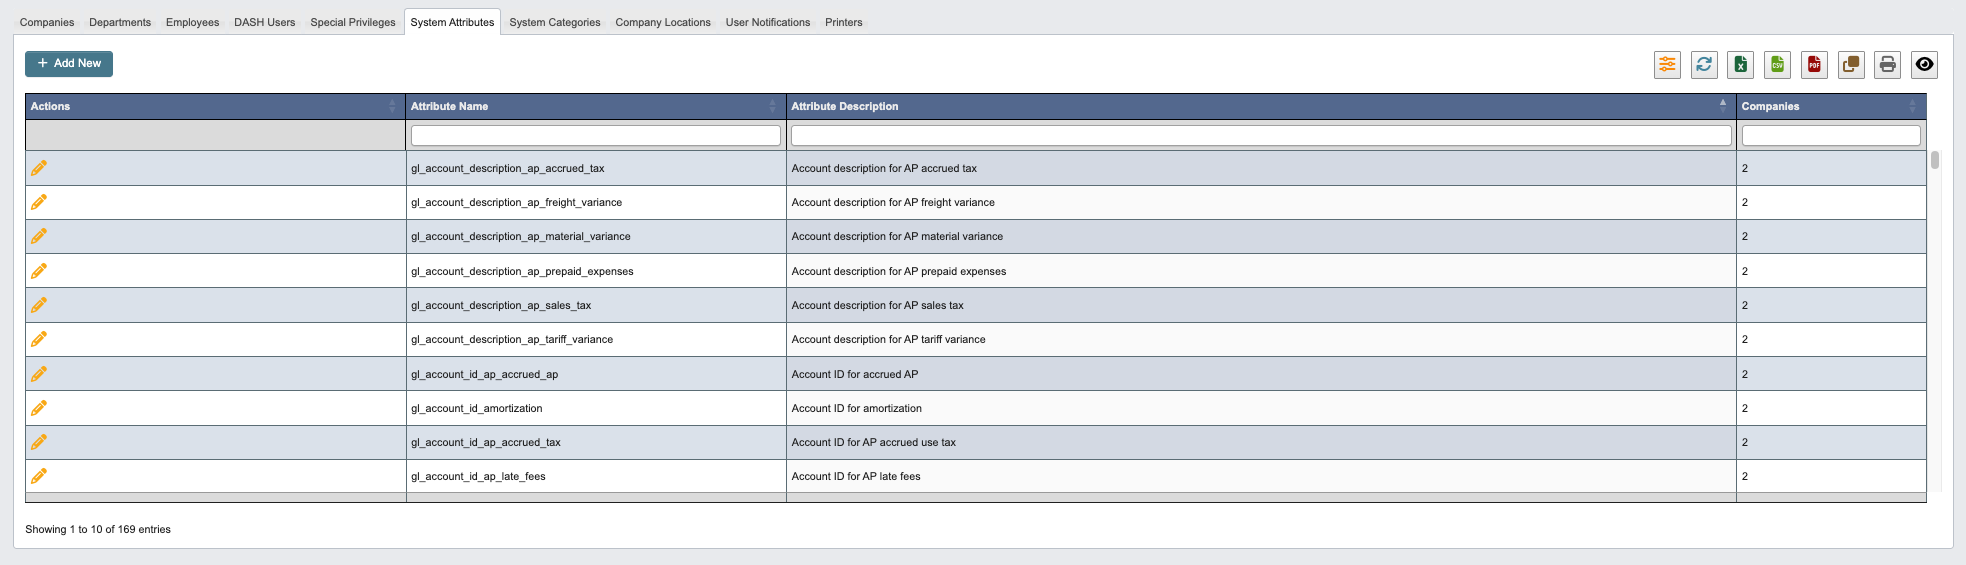
Add New System Attribute
-
Click
+ Add Newto create a new System Attribute. -
Enter the following System Attribute details.
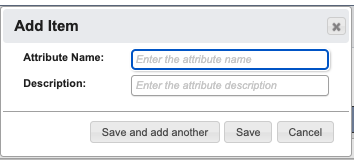
Attribute Name: Enter the attribute name.Description: Enter the attribute description.
-
When you have filled in the details, click:
Save and add anotherto add another System Attribute.Saveto save the details and go back to the table.Cancelto close the window and go back to the table.
System Categories
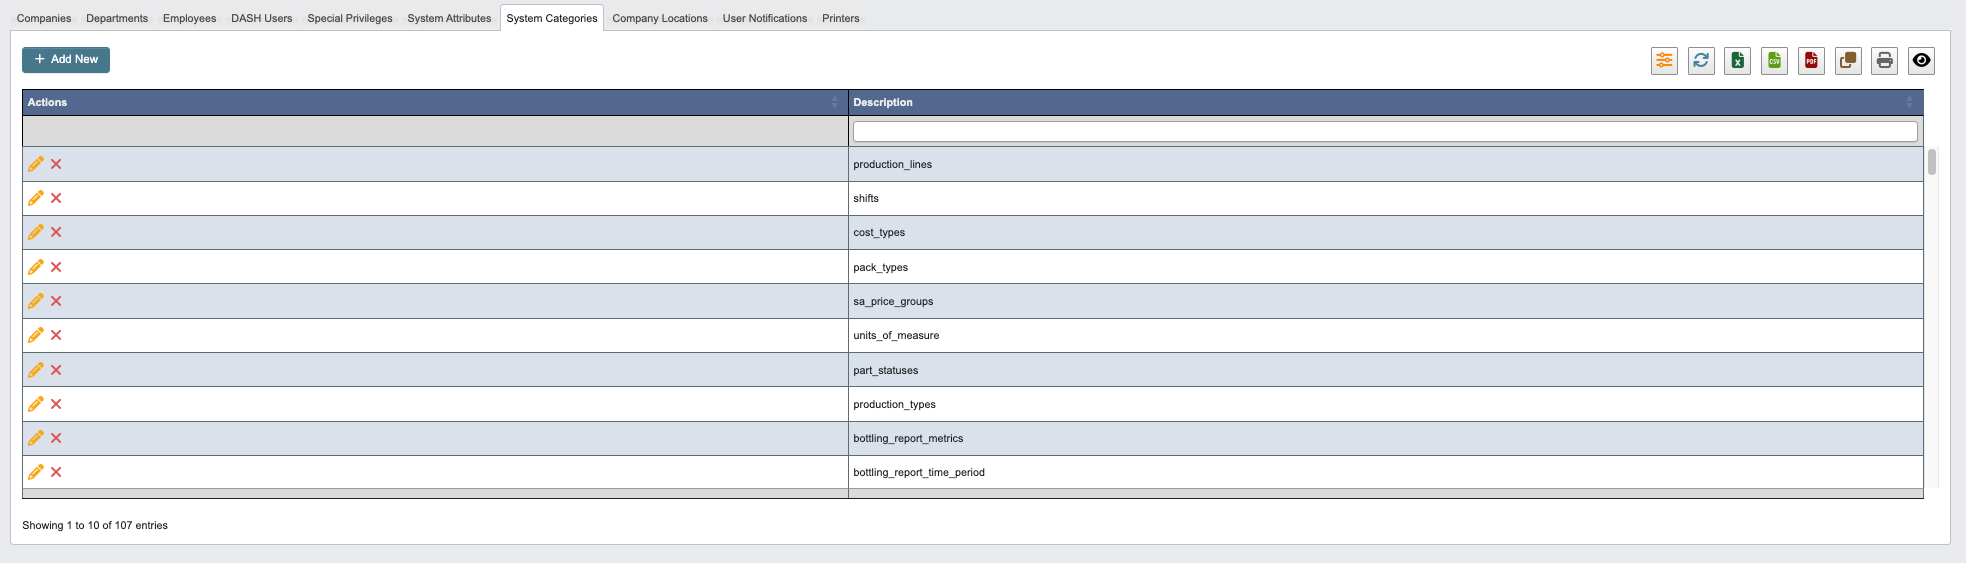
Add New System Category
-
Click
+ Add Newto create a new System Category. -
Enter the
Descriptionof the System Category.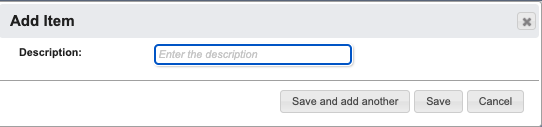
-
When you have filled in the details, click:
Save and add anotherto add another System Category.Saveto save the details and go back to the table.Cancelto close the window and go back to the table.
Company Locations

Company Locations Toolbar

-
Click
+ Add Newto add a new location, see steps below. -
Click
+ Uploadto upload multiple locations at once. -
Click
Download Templateto get the Excel template format with proper column headers. -
Use the dropdown to select a location string, then click
Load Binto jump directly to the BIN popup for that location. This option skips the usual navigation steps (location → area → aisle → bin) and opens the final bin-editing window immediately. ClickSaveorCancelwhen finished. See the [Administration reference] for field definitions.
Add New Company Location
-
Click
+ Add Newto create a new Company Location. -
Enter the Company Location details. See Administration Reference for definitions.
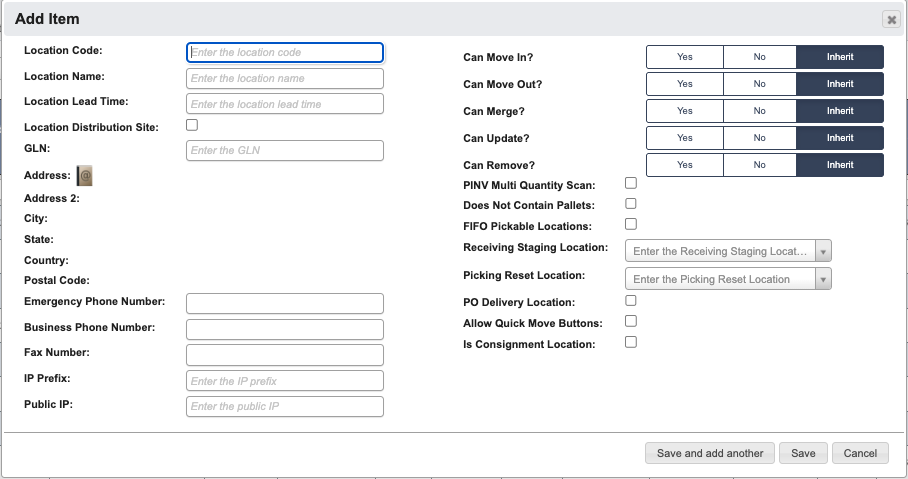
-
When you have filled in the details, click:
Save and add anotherto add another Company Location.Saveto save the details and go back to the table.Cancelto close the window and go back to the table.
User Notifications

Add New User Notification
-
Click
+ Add Newto create a new User Notification. -
Enter the User Notification details. See Administration Reference for definitions.
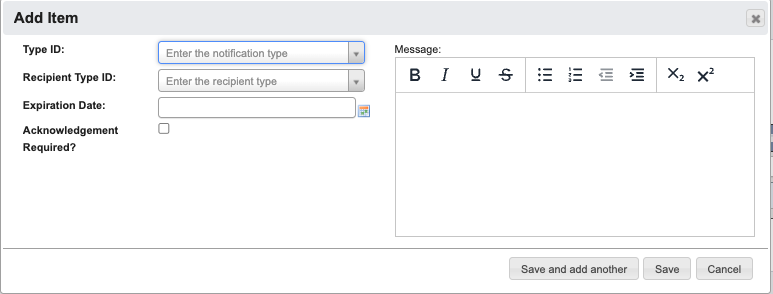
-
When you have filled in the details, click:
Save and add anotherto add another User Notification.Saveto save the details and go back to the table.Cancelto close the window and go back to the table.
Printers
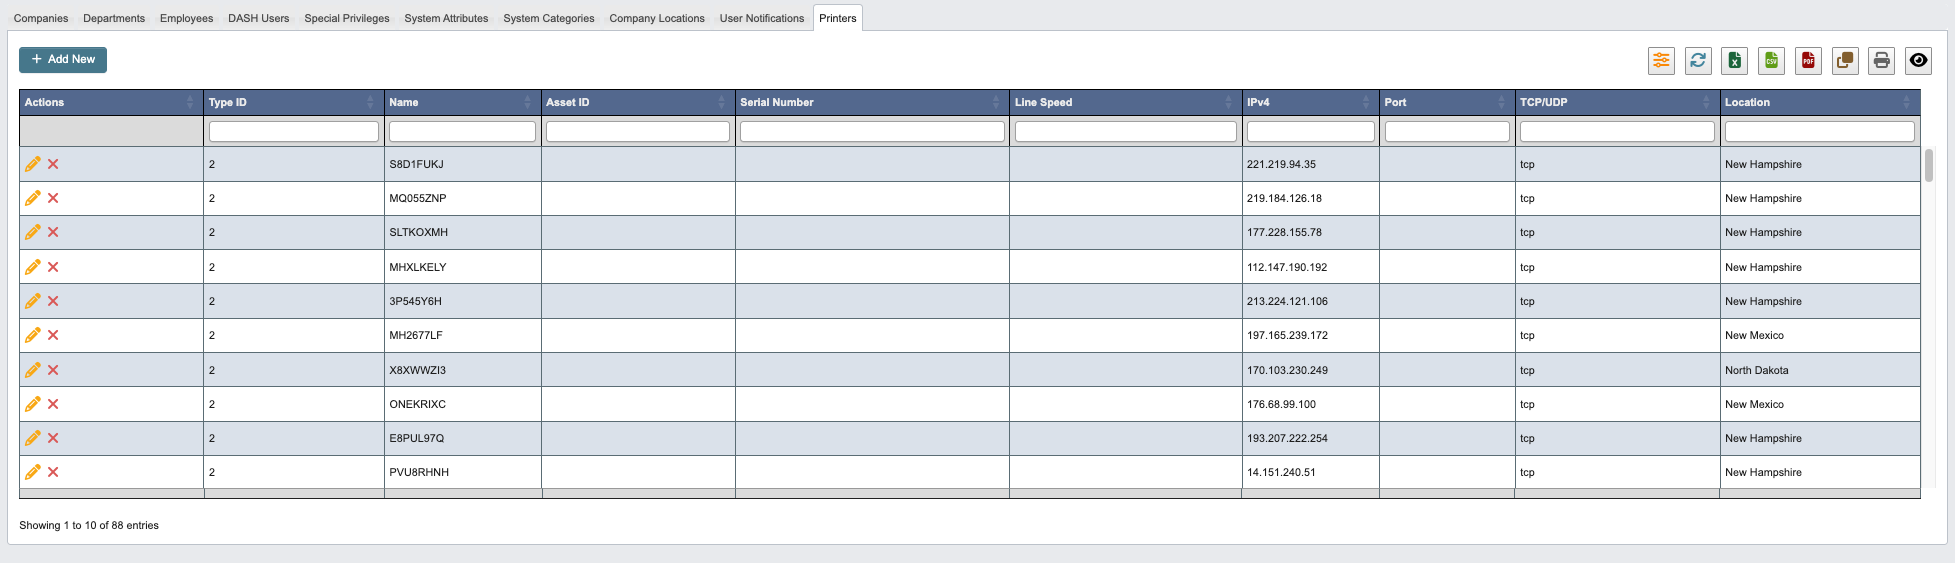
Add New Printer
-
Click
+ Add Newto create a new printer. -
Enter the printer details. See Administration Reference for definitions.
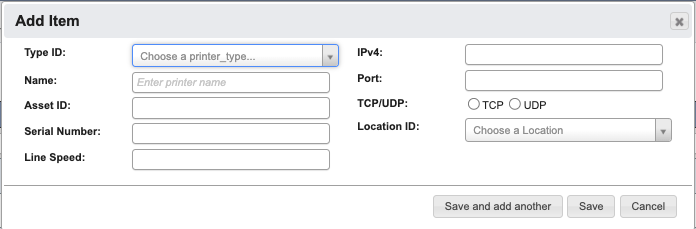
-
When you have filled in the details, click:
Save and add anotherto add another printer.Saveto save the details and go back to the table.Cancelto close the window and go back to the table.