Overview
The Inventory → Labels submodule lets you manage and view your current product label inventory. This submodule is also where employees can check out, return, or create labels. The Labels submodule contains an Adjustments tab and All Labels tab with different features:Adjustments
The Adjustments tab lets you manage label inventory by logging check ins, check outs, label creation or deletion, and more.Some actions require special user privileges. See ‘Special Privileges’ below for more details.
Check in a label
-
Click on the
Adjustmentstab.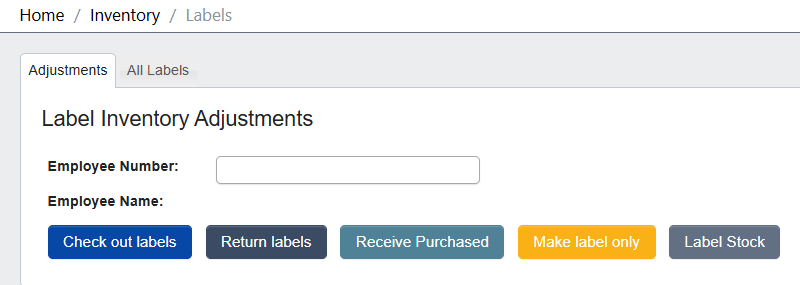
-
Enter your
Employee Numberand hit enter. Verify the name that appears is your own before continuing. -
Click
Check in new labels.
-
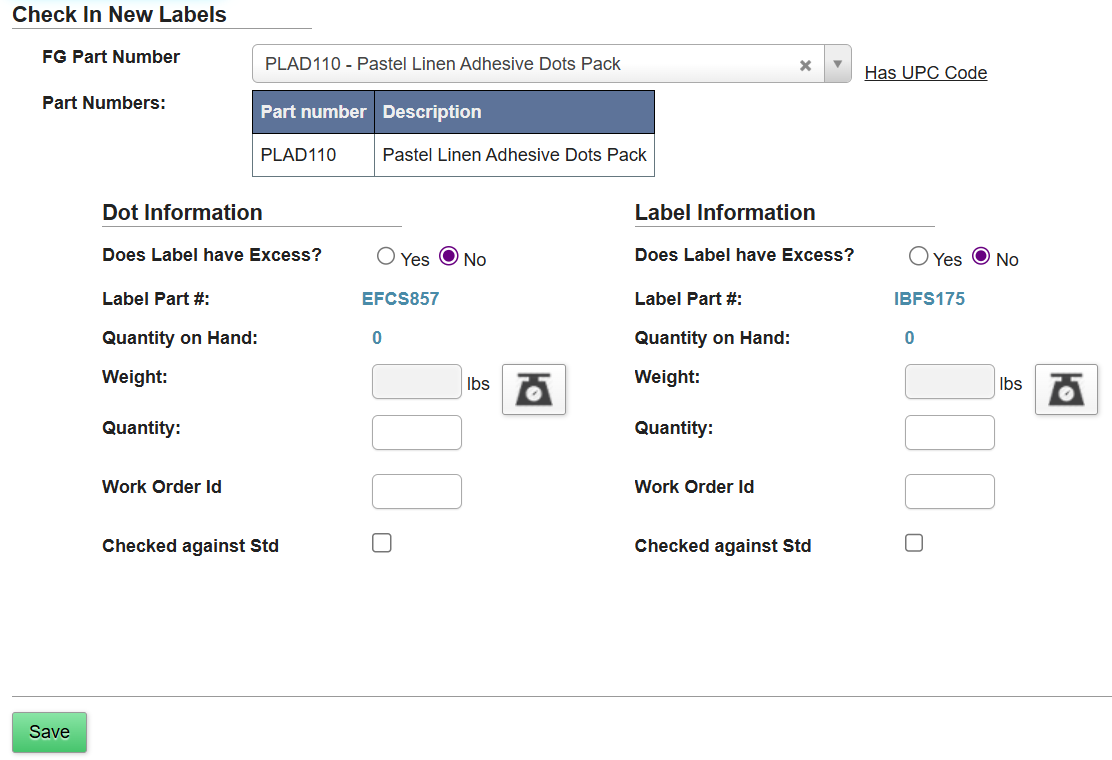
If the part you’re labelling has a
UPC Code(Universal Product Code), enter it. Otherwise, click No UPC Code and choose thePart Number. -
Fill in Dot Information and Label Information.
- If a scale icon is visible next to the
Weightfield, you can click it to record the current reading from an integrated nearby scale. This automatically populatesWeightand calculatesQuantity.

- Review the entered details, then click
Save.
- If a scale icon is visible next to the
Check Out Labels
-
Click on the
Adjustmentstab. -
Enter your
Employee Numberand hit enter (make sure the name that appears is your own before continuing). -
Click
Check out labels. -
Under Check-out reason, select the purpose:

- Bottling Job: associates the labels with a bottling run/line.
- Order: associates the labels with an order.
- Work Order: associates the labels with a specific work order.
- Select the actual Job / Order / Work Order.
-
If the part you’re labelling has a
UPC Code(Universal Product Code), enter it. Otherwise, click No UPC Code and choose thePart Number. -
Add the labels to issue:
- Scan the label roll barcode, or search by
Part Number. Quantity:-
If you see a scale icon next to the
Weightfield, you can click it to record the current reading from an integrated nearby scale. This automatically populatesWeightand calculatesQuantity. - If not, you can type in the quantity you’re checking out.
-
If you see a scale icon next to the
- Optionally, add a
Note(e.g., “Trial run, Line 3”).
- Scan the label roll barcode, or search by
-
Review the summary, then click
Save. The labels are deducted from inventory and tied to the selected job or work order for traceability.
Special Privileges
- Adjust Label Inventory: Users with this privilege can make corrections to the amount of labels available.
- Check In New Labels: After signing in by scanning their badge or entering their employee number, users with this privilege will be able to see the Check in new labels, Scrap labels, Out for Approval, and Labels Approved buttons.
All Labels
View all current product labels in your inventory. You can choose to perform the following actions on the table: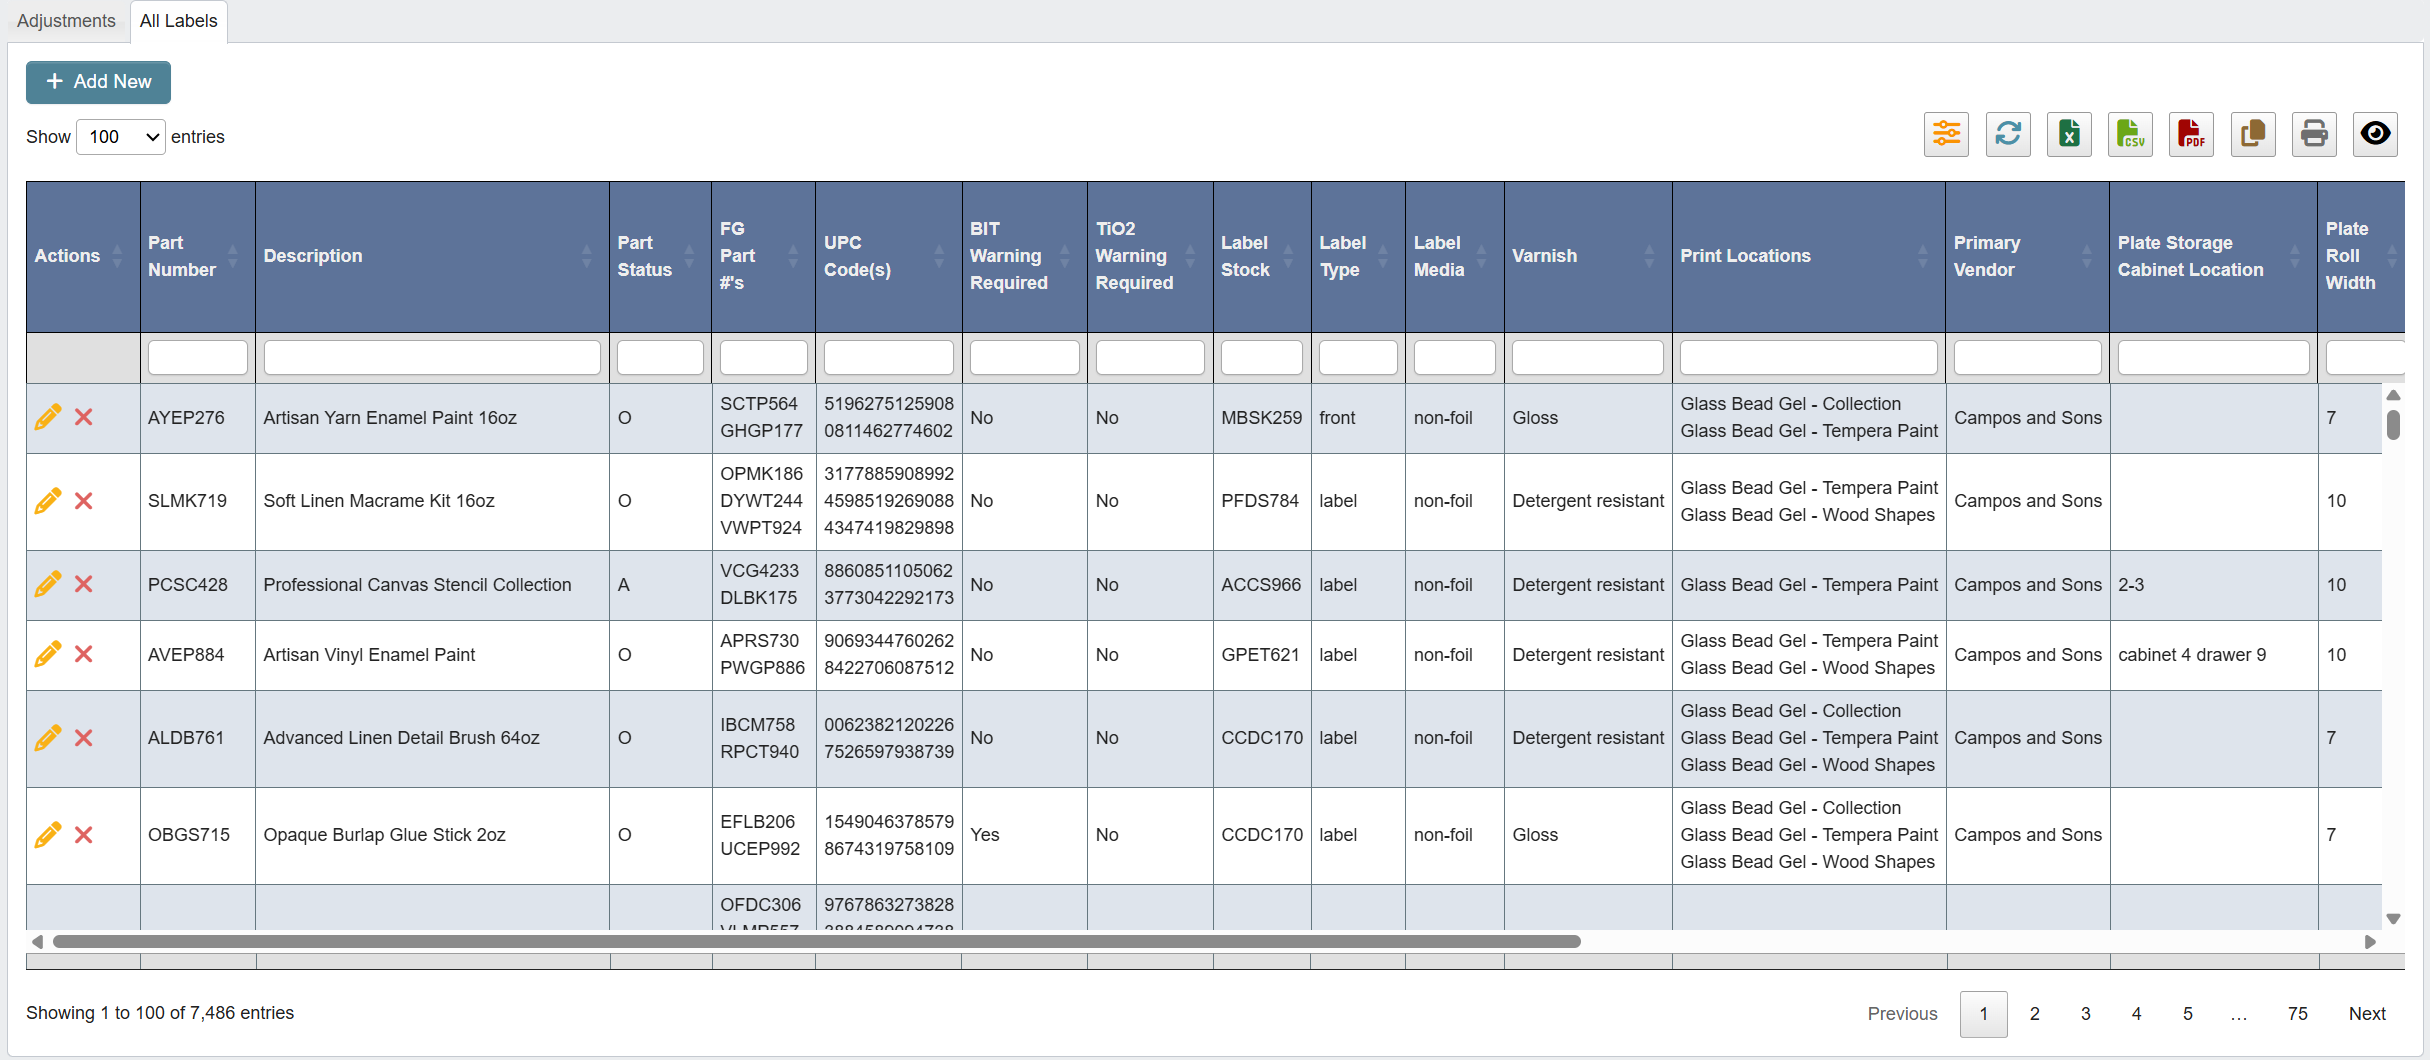
-
Edit Item(’pencil’ icon): Modify the part associated with a label, and modify the label itself. -
Deactivate Item(’X’ icon): Deactivate a label.-
You can find all deactivated labels by clicking the
Filterbutton.
-
Set
ActivetoNo, and clickFilter.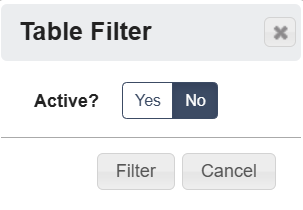
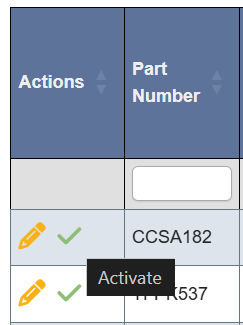
-
To reactivate a label, click the ’Check’ icon in the Actions column.
-
You can find all deactivated labels by clicking the
- Click on a column header to sort the table by that attribute.
- Use the table’s toolbar to refresh, export, print, or filter the table’s data.