Overview
The Inventory → Reports submodule helps you extract and review inventory transaction data. It is especially useful for resolving errors in inventory management, and identifying ways to improve your supply chain efficiency. This page reviews all the types of inventory reports you can generate, then provides a tutorial for generating a new report.Report Options
Each tab in the Reports submodule lets you display transaction data filtered by required and optional fields:- Label Transaction History: Review label transactions, optionally filtered by transaction type, part number, and time period.
- Pallet History: Track a specific pallet’s (license plate) history through your supply chain.
- Employee Transaction History: Track all inventory transactions made by a particular employee.
- Part History: Track a specific Part’s history through your supply chain, surfacing all perpetual or general transactions related to it. This is helpful for seeing your supply chain in action, or auditing mismanaged part inventory.
- Location (Pallet) Lookup: Track where pallets (license plate) (of inventory items) are located currently in your supply chain.
- Replenishment: Identify material shortages in dedicated storage or staging areas. This is helpful for identifying and fixing low inventory problems.
- Dedicated Loc(ations): View inventory items stored in dedicated warehouse locations (specific slots assigned to fixed parts). This is helpful for confirming that dedicated locations are correctly stocked.
- Error Tracking: Look up a specific Part’s information, location, transaction history, and more. This tab helps you audit part inventory errors and discover problems in your supply chain.
- Inventory Moves: View a record of inventory transfers within a facility or by an employee.
- Cycle Counts: Monitor cycle count operations, including their progress and completion.
How to Generate a Report
Some reports contain both Required Filters and Optional Filters. A report will not generate until you fill in all required filters.
Generate a Label Transaction History report
-
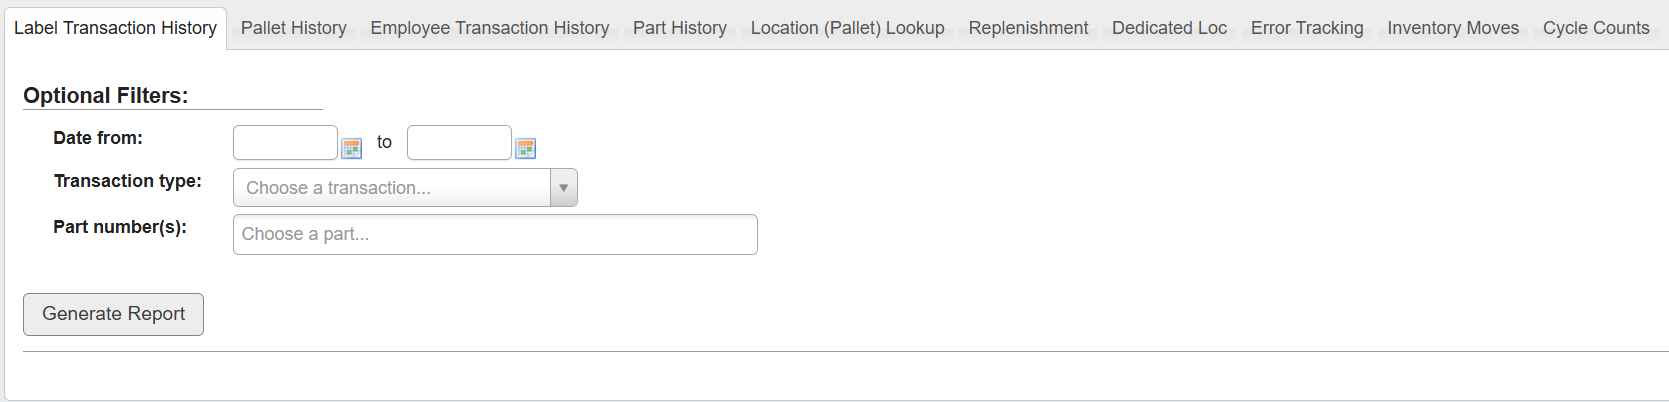
Click on the
Label Transactionstab. -
There are no Required Filters, so you can just optionally filter label transactions by:
Date From / To: Filters transactions within a specific time range. Useful when tracking label flow over a period (e.g., post-inventory adjustment).Transaction type: Dropdown to narrow results to specific activities, such as Check out labels, Return labels, or Correction.Part number(s): Filters by one or more specific parts. Helpful for auditing label usage for a SKU or confirming label corrections.
Check outtransactions for partVYST687from08/01/2024to08/01/2025: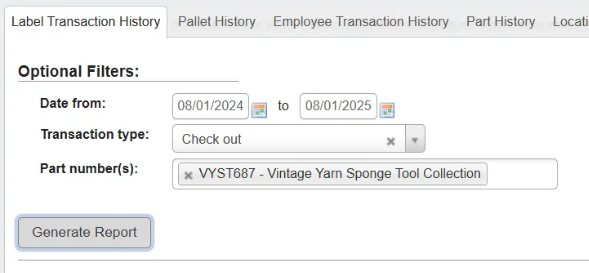
-
Click
Generate Reportto view the filtered data in a table.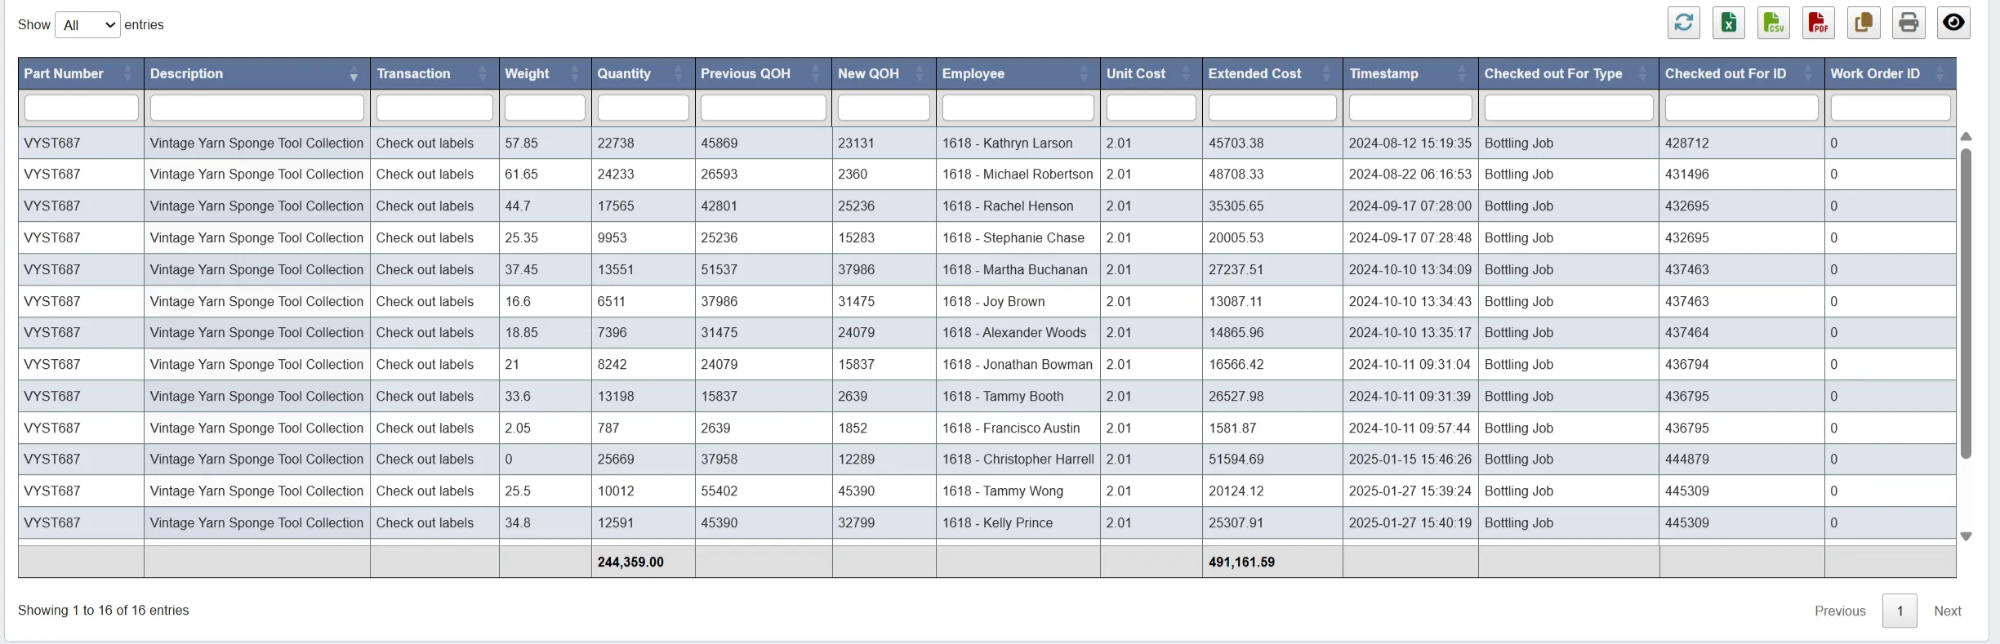
-
You can choose to perform the following actions on the table:
- Click on a column header to sort the table by that attribute.
- Use the table’s toolbar to refresh, export, print, or filter the view of the table’s data.
- The columns include:
Part Number: Unique identifier for the inventory item the label belongs to.Description: Item name or description (e.g., “Vintage Yarn Sponge Tool Collection”).Transaction: Action performed (e.g., label checked out, returned, corrected).- Here, they’re all “Check out labels” since we filtered the “Transaction type” to only show “Check out” ones.
Weight: Weight of label rolls at time of transaction .Quantity: Count of labels associated with the transaction.Previous QOH: Quantity on hand before the transaction occurred, useful for tracing inventory adjustments.New QOH: Quantity on hand after the transaction occurred (should reflect a decrease relative to the checkout quantity because we are viewing checkout-only transactions. Check-ins would reflect an increase).Employee: User who performed the transaction, typically identified by internal employee ID and name.Unit Cost: Per-label cost at the time of checkout. In this example, it’s consistently$2.01.Extended Cost: Total cost for the quantity checked out (calculated asQuantity × Unit Cost).Timestamp: Date and time when the transaction was recorded.Checked out For Type: Reason or destination for the label checkout (e.g.,Bottling Job).Checked out For ID: Unique identifier for the job or process the labels were assigned to, used to trace label consumption across operations.Work Order ID: Linked manufacturing or packaging work order, if applicable. Often0if no direct work order is assigned.
- Inventory Managers: Audit label usage across warehouse; spot anomalies.
- Production Floor Employees: Confirm if label transactions were recorded correctly.
Generate a Pallet History report
-
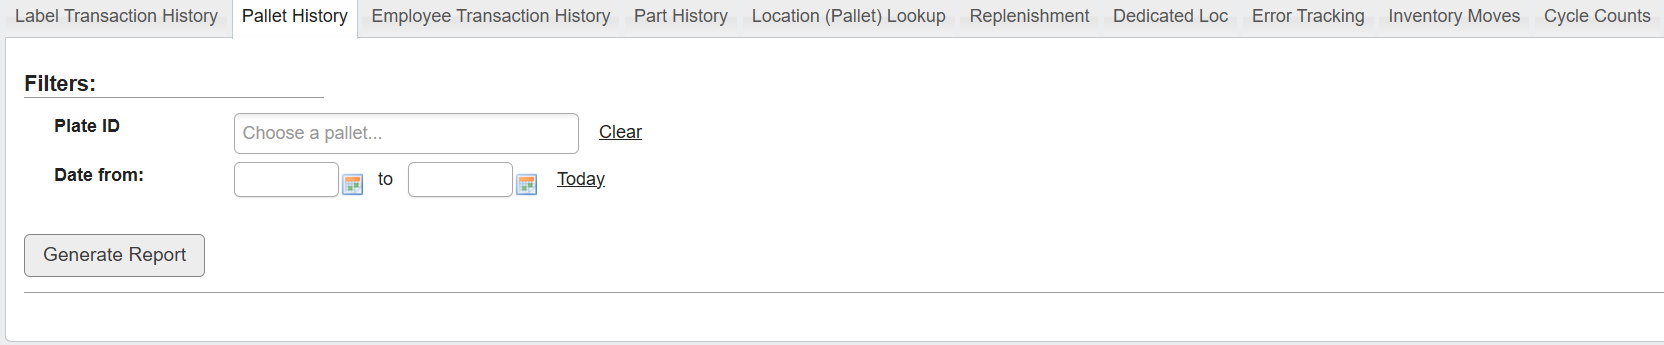
Click the
Pallet Historytab. This tab helps you trace a pallet’s movements and transactions across your supply chain. -
Set the required filters either a license plate ID or a date range must be entered:
Plate ID: Type or select one or multiple pallet ID(s) from the list.Date From / To: Narrow the timeframe for the pallet history, or clickTodayto generate a report for the current day.
-
Click
Generate Report. The report will display detailed records of the pallet’s transaction history based on the provided filters.
- Inventory Auditors: Audit where a pallet has traveled or been used throughout the supply chain.
- Warehouse Supervisors: Troubleshoot missing or misallocated inventory tied to specific pallets.
- Operations Managers: Track and validate warehouse activities involving particular pallets.
Generate an Employee Transaction report
-
Click the
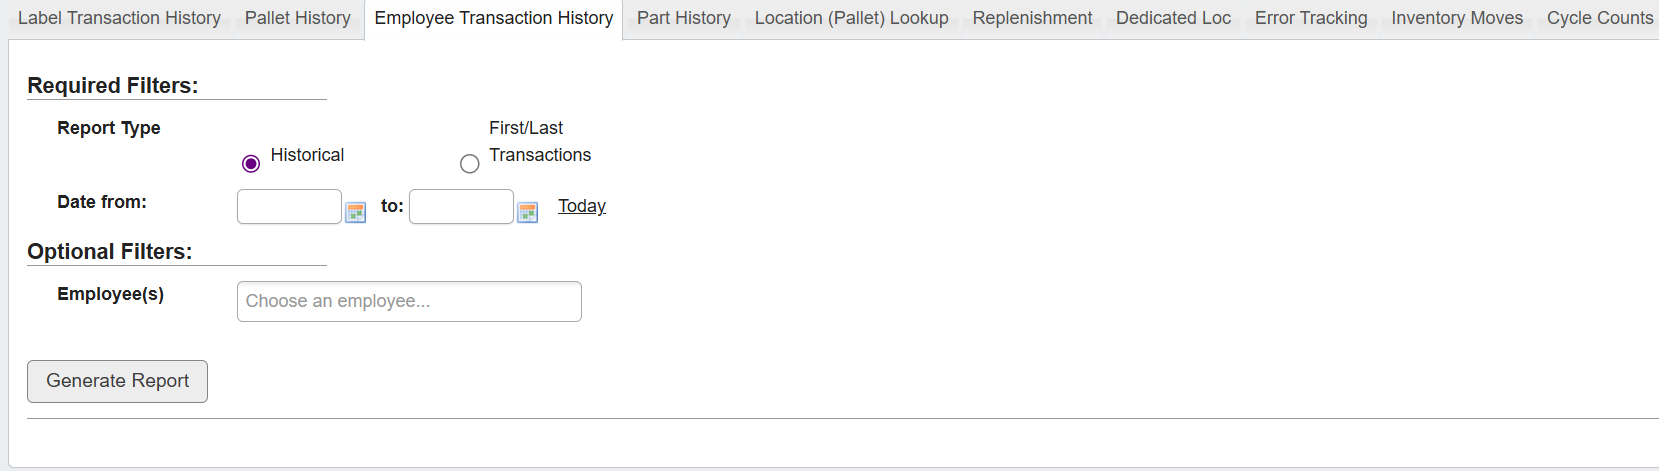
Employee Transaction Historytab. This tab helps you track inventory activity by employee over a selected time period. -
Set the required filters:
Report Type: Choose between:Historical: shows all transactions within a date range.First/Last Transactions: shows only the first and last inventory transactions for each employee.- (Optional) Filter by
Shift Start / End: Define custom shift hours, or clickFirst Shift/Second Shiftto apply standard times.
- (Optional) Filter by
Date From / To: Define the time window for the report, or clickTodayto select the current date.
- (Optional): Filter by one or more Employee(s) to limit results to specific individuals.
-
Click
Generate Report. The report will display inventory transactions based on the selected criteria and filters.
- Supervisors: Verify employee activity by shift, especially during critical operations.
- Operations Managers: Spot underutilized or overactive employee shifts.
- Auditors: Review time-bounded activity for compliance or investigation purposes.
Generate a Part History report
-
Click the
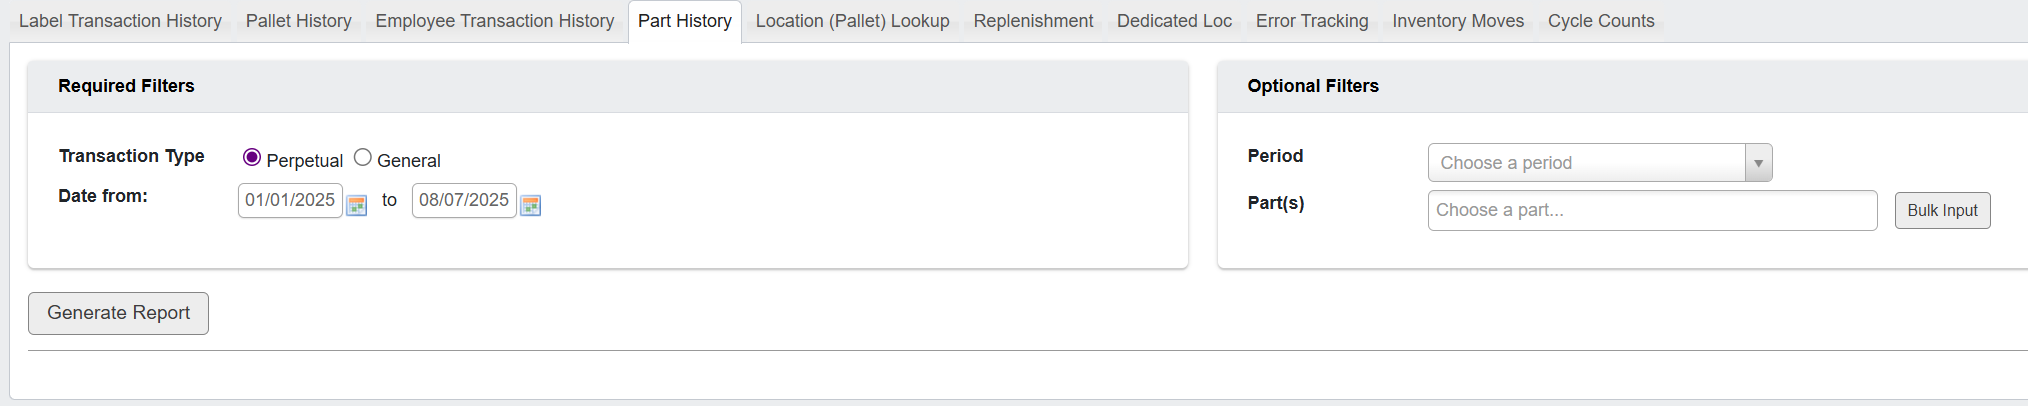
Part Historytab. -
Set the required filters:
Transaction Type: Choose between:Perpetual: for ongoing part-level transactions related to inventory counts (quantity on hand), such as adjustments or receipts.General: for broader, non-inventory events affecting parts, such as part status changes or cost changes.
Date From / To: Select the time range for the transactions.
-
(Optional):
-
Period: Choose a predefined period (e.g., “May - 2025”) to quickly set a date range. -
Part(s): Select one or more specific parts to narrow the results. You can also clickBulk Inputto enter multiple part numbers.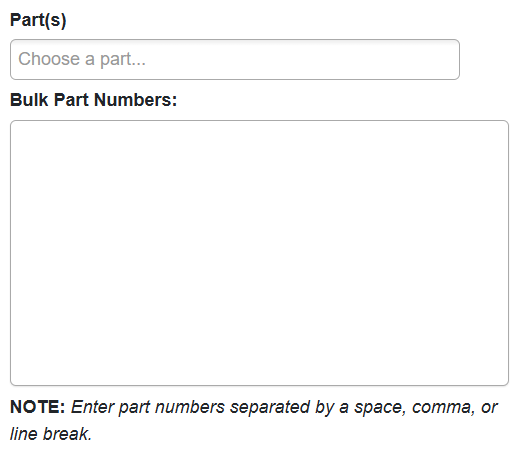
-
-
Click
Generate Report. The report will show detailed part-level transactions matching your filters.
- Inventory Analysts: Monitor how parts move through the supply chain over time.
- Auditors: Trace part-related transactions for compliance, especially when dealing with shrinkage or miscounts.
Generate a Location (Pallet) Lookup report
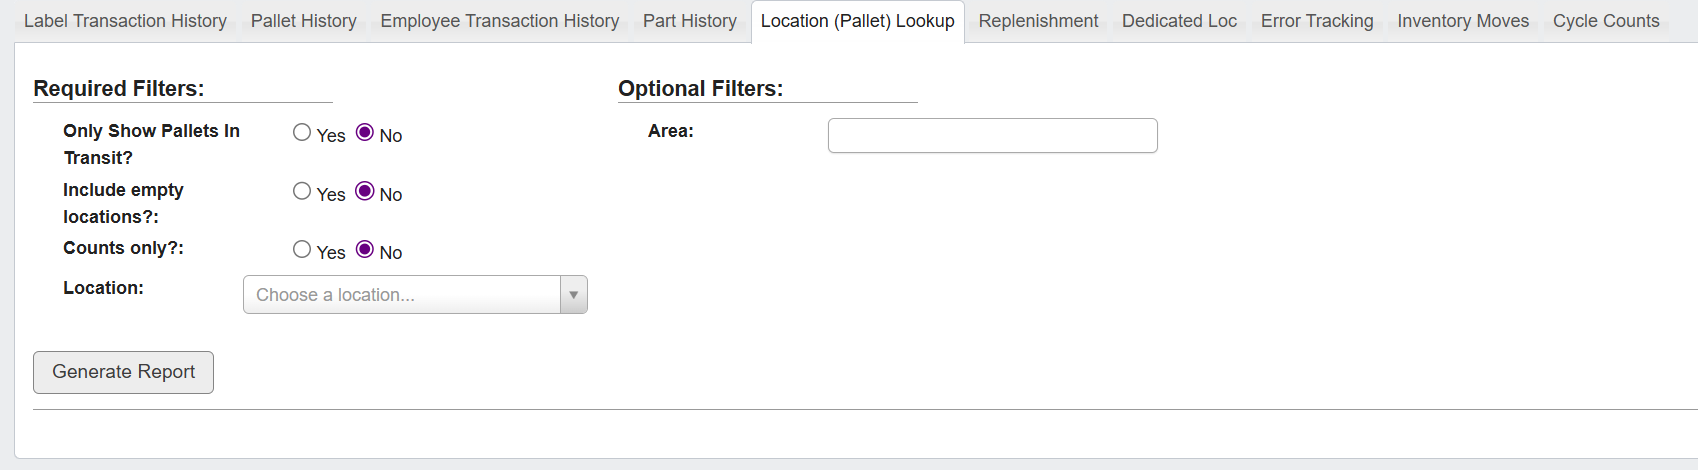
- Click the
Location (Pallet) Lookuptab. - Set the required filters:
Only Show Pallets In Transit?: SelectYesto limit results to in-transit pallets - meaning they have been checked out of a location but not yet checked back in.Include Empty Locations?: SelectYesto show storage locations with no pallets.Counts Only?: SelectYesto see pallet totals instead of detailed records.Location: Choose a location from the list.
- (Optional) Filter by
Area(by selecting from the dropdown) to further narrow the search.- (Optional) FIlter by
Aisle/Row/Rack.
- (Optional) FIlter by
- Click
Generate Report.
- Inventory Managers: Verify the real-time location of inventory on pallets
- Warehouse Staff: Confirm if staging or storage areas are properly utilized
- Logistics Coordinators: Check the status of pallets in transit for planning and routing
Generate a Replenishment report
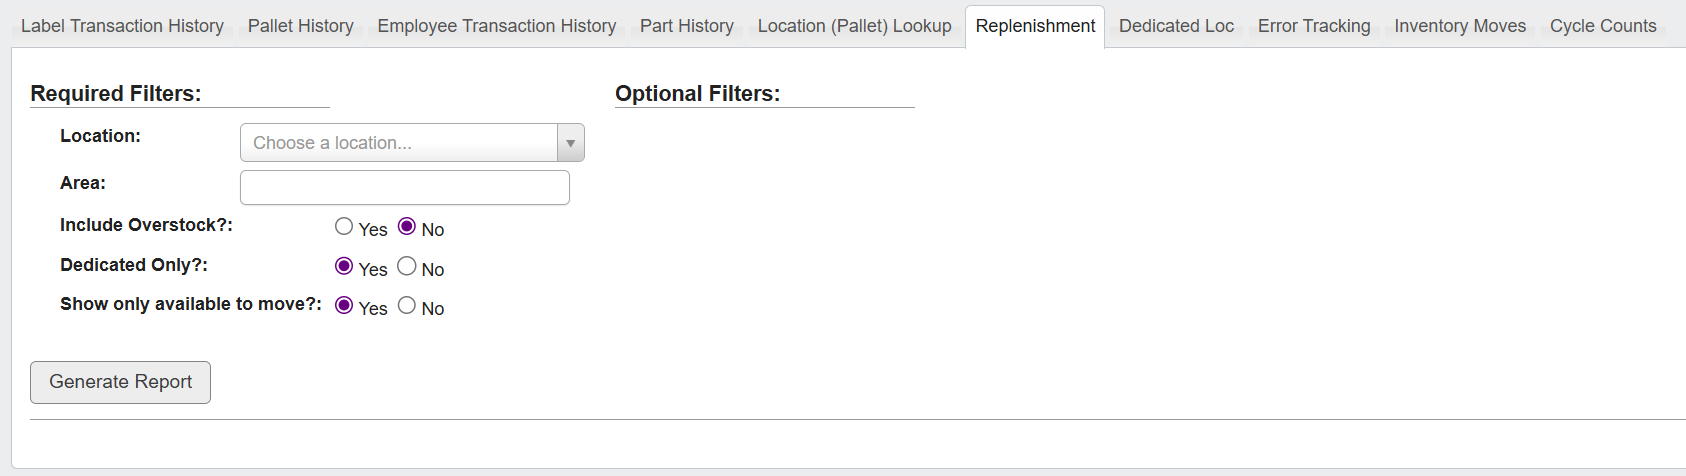
- Click the
Replenishmenttab. - Set the required filters:
Location: Select a facility or zone.Area: Choose a storage or staging area within that location.Include Overstock?: Select Yes to display parts that are in overstock locations (typically not accessible without a forklift).Dedicated Only?: Select Yes to limit results to dedicated storage slots.Show only available to move?: Select Yes to show only items ready for transfer.
- (Optional) Use
Aisle/Row/Rackto narrow results by physical layout. - Click
Generate Report.
- Material Handlers: Quickly locate what and where to replenish
- Warehouse Leads: Coordinate shift work based on inventory needs
- Inventory Analysts: Identify systemic overstocking or chronic shortages in specific areas
Generate a Dedicated Loc report
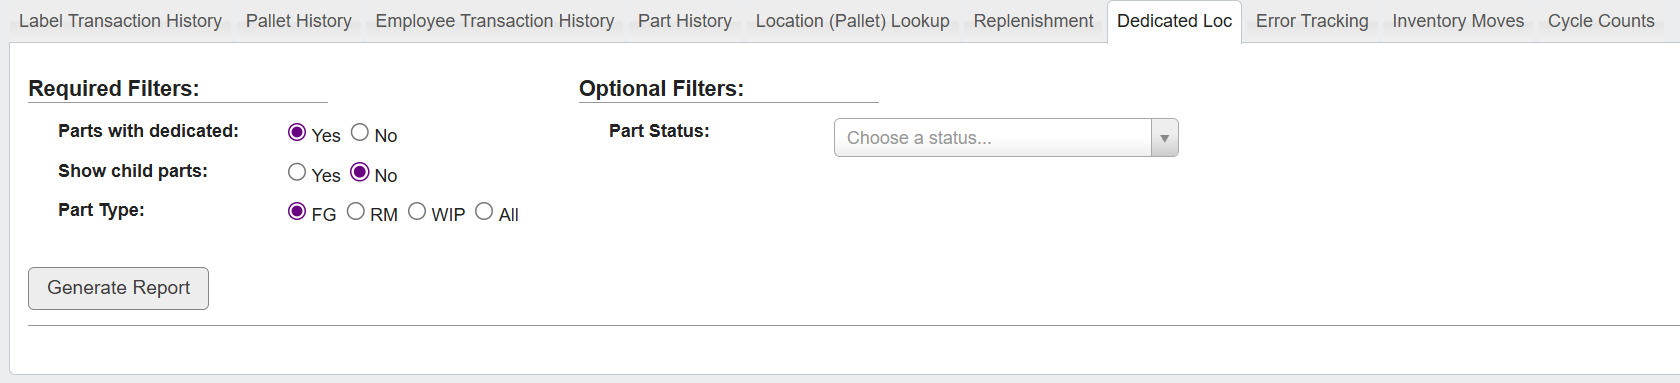
- Click the
Dedicated Loctab. - Set the required filters:
Parts with dedicated: Select Yes to include only parts with assigned dedicated locations.Show child parts: Select Yes to include child parts from a parent/child relationship (e.g., inner pack of a master case).Part Type: Choose FG (Finished Goods), RM (Raw Material), WIP (Work in Process), or All.
- (Optional) Set a
Part Statusto filter by lifecycle state. Available options:A: ActiveI: InactiveO: ObsoleteT: To Be DiscontinuedZ: Draft
- Click
Generate Report.
- Inventory Managers: Confirm that dedicated slots contain expected inventory
- Warehouse Leads: Spot empty or mismatched locations tied to inactive or obsolete parts
- Operations Teams: Review dedicated storage for active, draft, or phasing-out SKUs
Generate an Error Tracking report

- Click the
Error Trackingtab. - Set the required filter:
Part(s): Choose one or more parts from the list.
- Click
Generate Report.
Part Information: Status, case quantity, unit of measure, on-hand quantity, pulled quantity, and discrepancy valuesInventory Locations: Shows if any physical inventory is assigned to this partOrders Pulled: Lists any orders containing the partCleared Pallets: Displays pallet data since the last inventoryPerpetual Transaction History: Lists part-level transactions since the last inventory
- QA Teams: Trace physical vs. perpetual mismatches across inventory systems
- App Support: Investigate part status, usage, or pull history when errors occur
- Inventory Analysts: Get a clear view of error sources for reconciliation and audit logging
Generate an Inventory Moves report
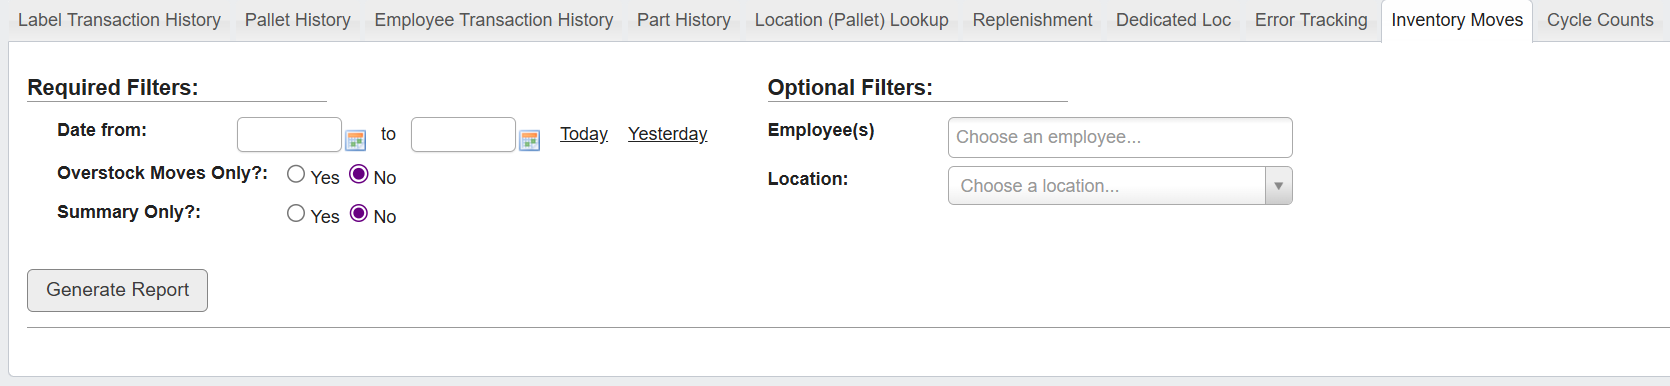
- Click the
Inventory Movestab. - Set the required filters:
Date From / To: Define the timeframe to include.Overstock Moves Only?: SelectYesto limit to moves from overstock locations.Summary Only?: SelectYesto show totals without transaction-level detail.
- (Optional) Filter by:
Employee(s): Limit results to specific users.Location: Focus on moves in a particular area.
- Click
Generate Report.
- Warehouse Supervisors: Monitor daily material handling activity
- Inventory Analysts: Audit overstock transfers and movement trends
- Ops Managers: Identify throughput or labor distribution by shift or location
Generate a Cycle Counts report
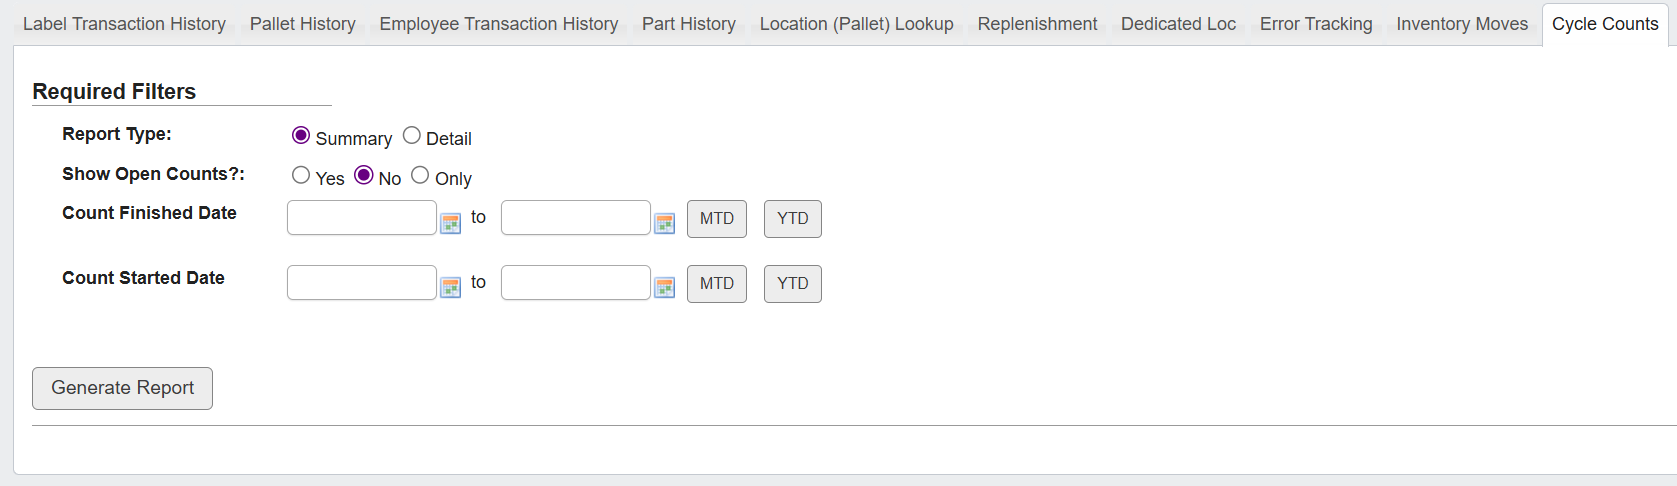
- Click the
Cycle Countstab. - Set the required filters:
Report Type: ChooseSummaryfor totals orDetailfor line-item results.Show Open Counts?: SelectYes,No, orOnlyto filter by count status.Count Finished Date: Filter based on when counts were completed.Count Started Date: Filter based on when counts began. You can also useMTD(Month-to-Date) orYTD(Year-to-Date) shortcuts.
- Click
Generate Report.
- Cycle Count Teams: Track outstanding or completed counts
- Auditors: Review count coverage over a specific time window
- Inventory Managers: Monitor cycle count accuracy and completion trends