Overview
This tutorial helps you create new formulas from scratch in the DASH Part Information → Manage Formulas submodule. Creating formulas allows you to build new formulations by selecting raw materials, setting quantities, adding processing instructions, and establishing quality specifications. Use this tutorial when you need to develop entirely new formulations, create experimental variations, or build formulas for new product development projects.When you should Create Formula
Lab technicians and formulators typically use Create Formula when:- Developing completely new product formulations from scratch.
- Creating experimental variations for research and development.
Part for formulas are pulled from the master part information database. This is different than the DASH parts database.
Create a Formula
Step 1: Access Create Formula
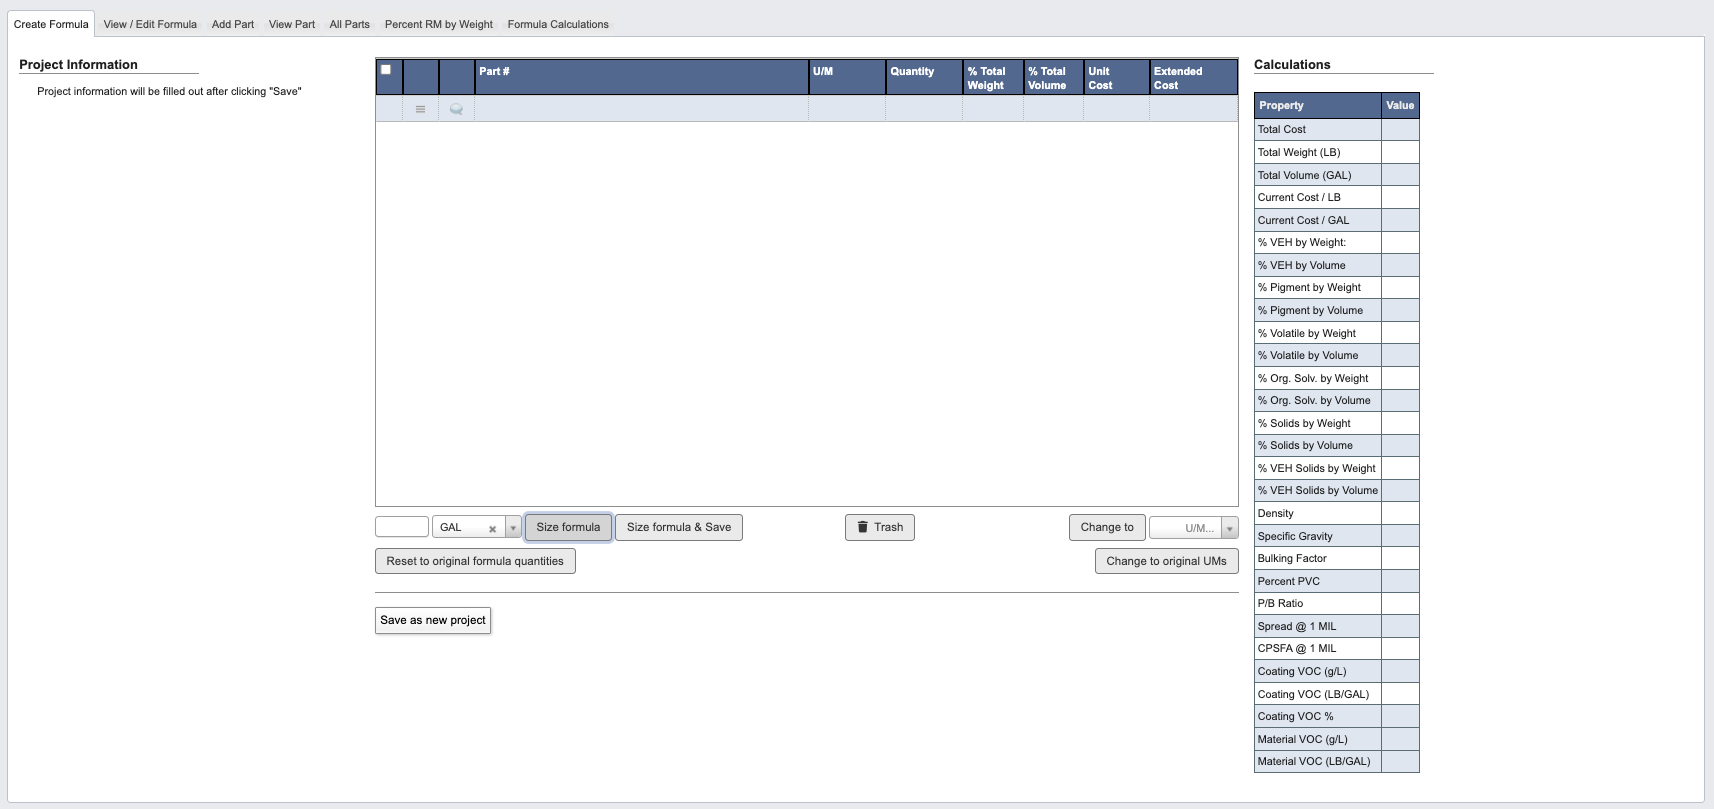
- From the Part Information → Manage Formulas submodule.
- Click on the
Create Formulatab. - The Create Formula interface will display with a blank formula table ready for part entry.
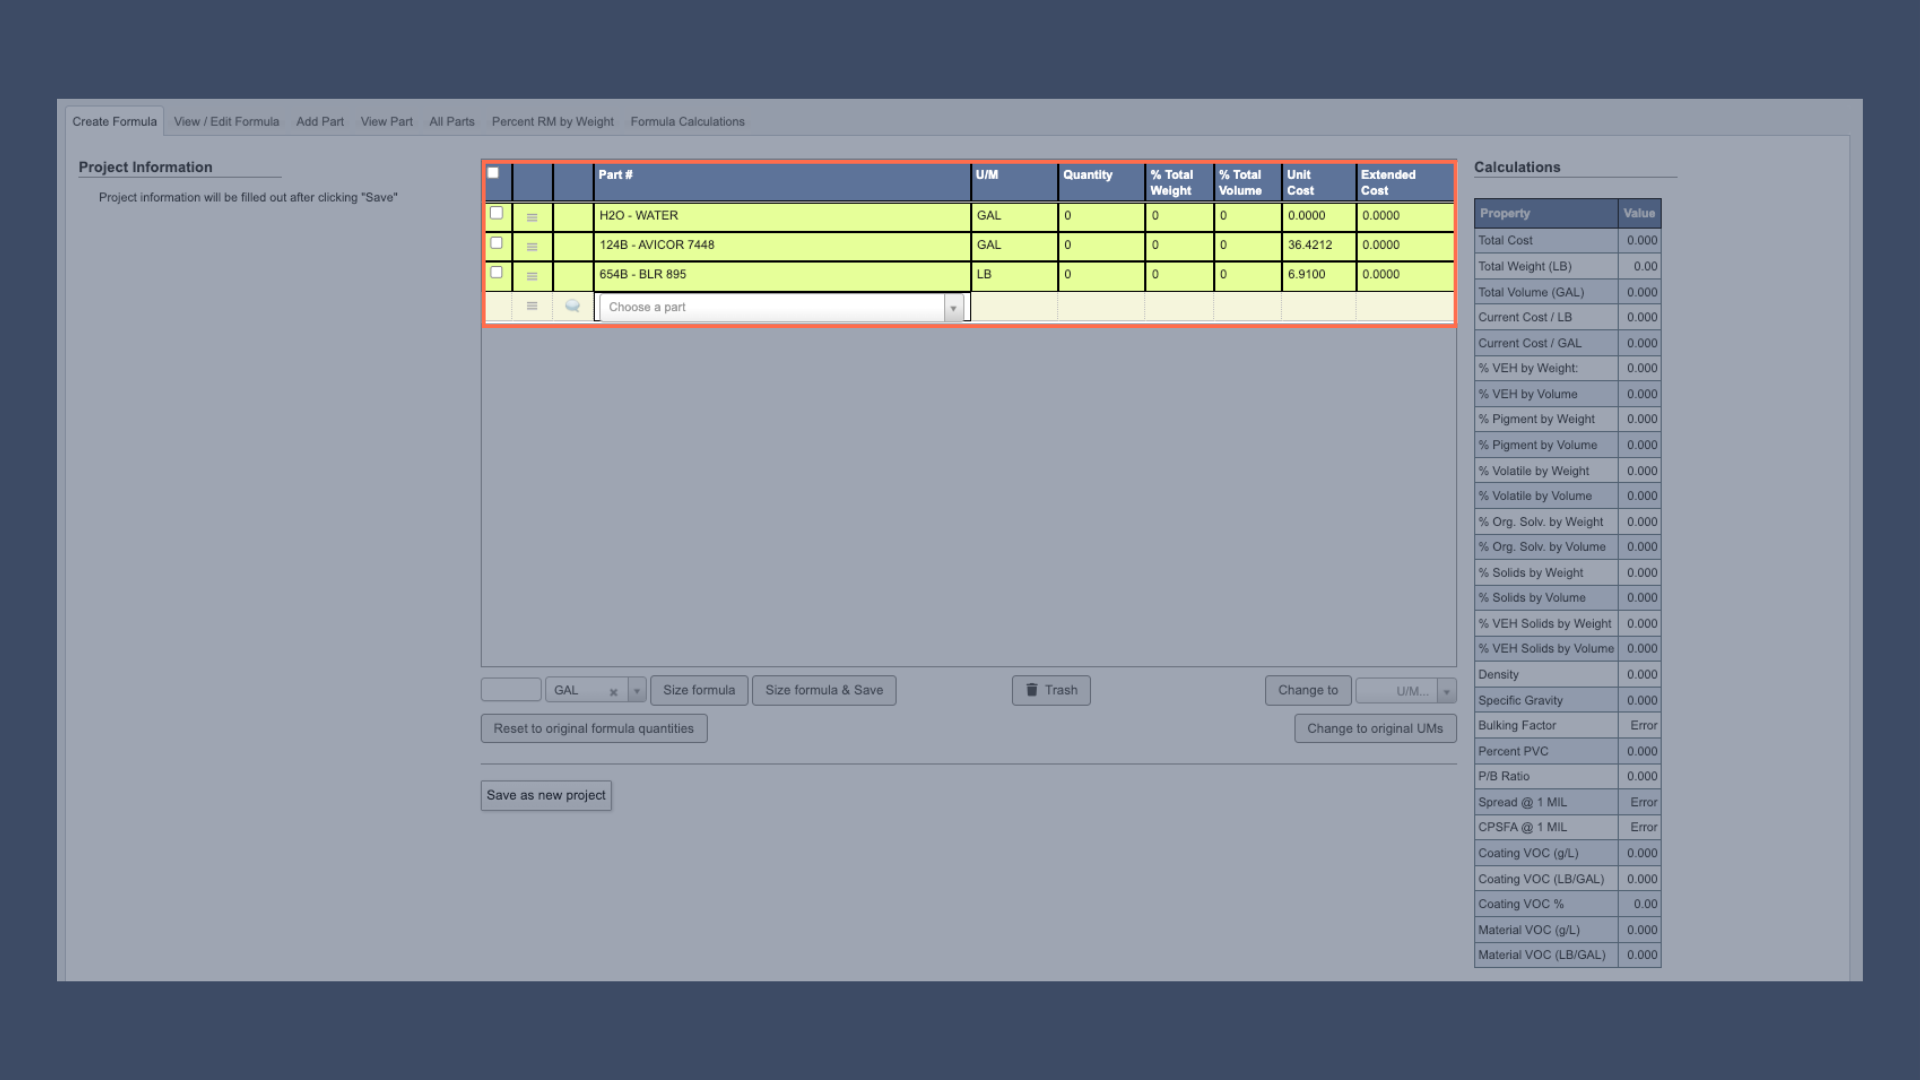
Step 2: Add Parts to Formula
-
Click on a blank line in the formula table to add a
Part #.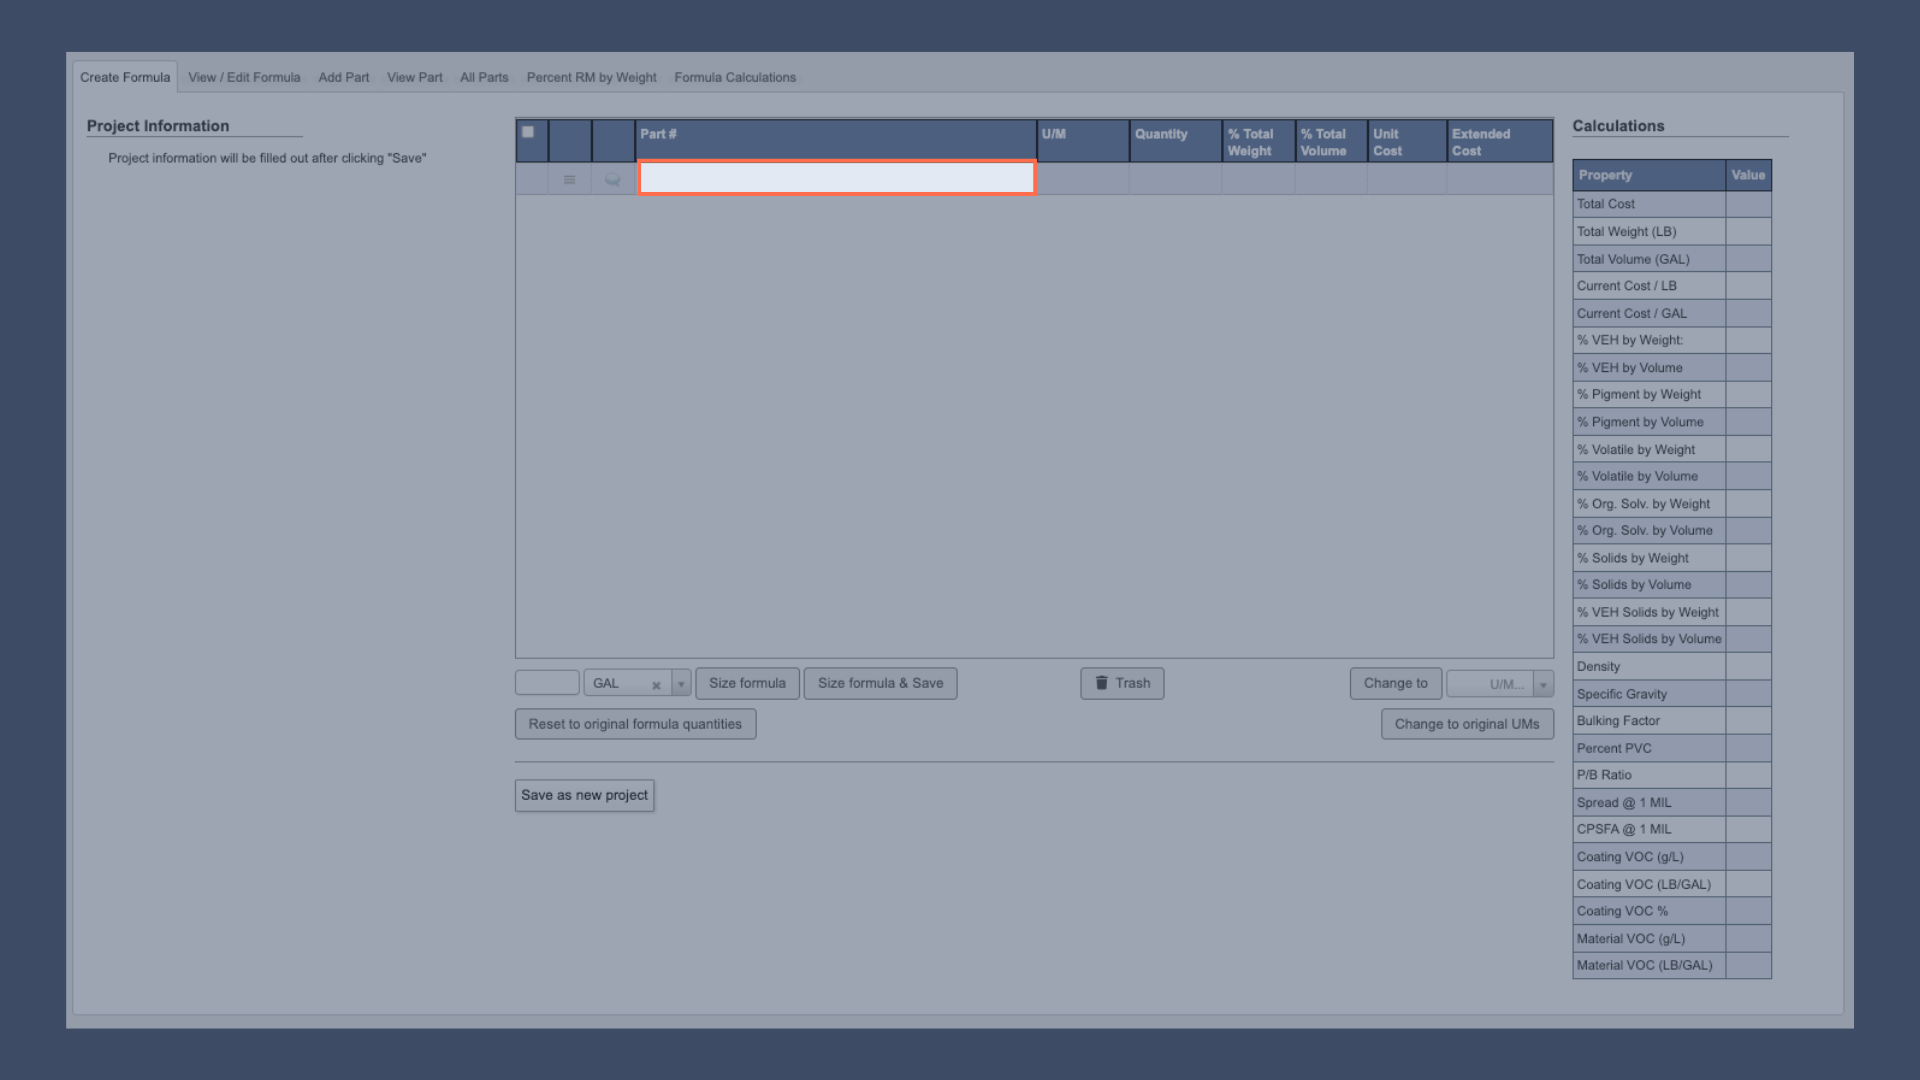
-
Use the dropdown to search and select existing parts.
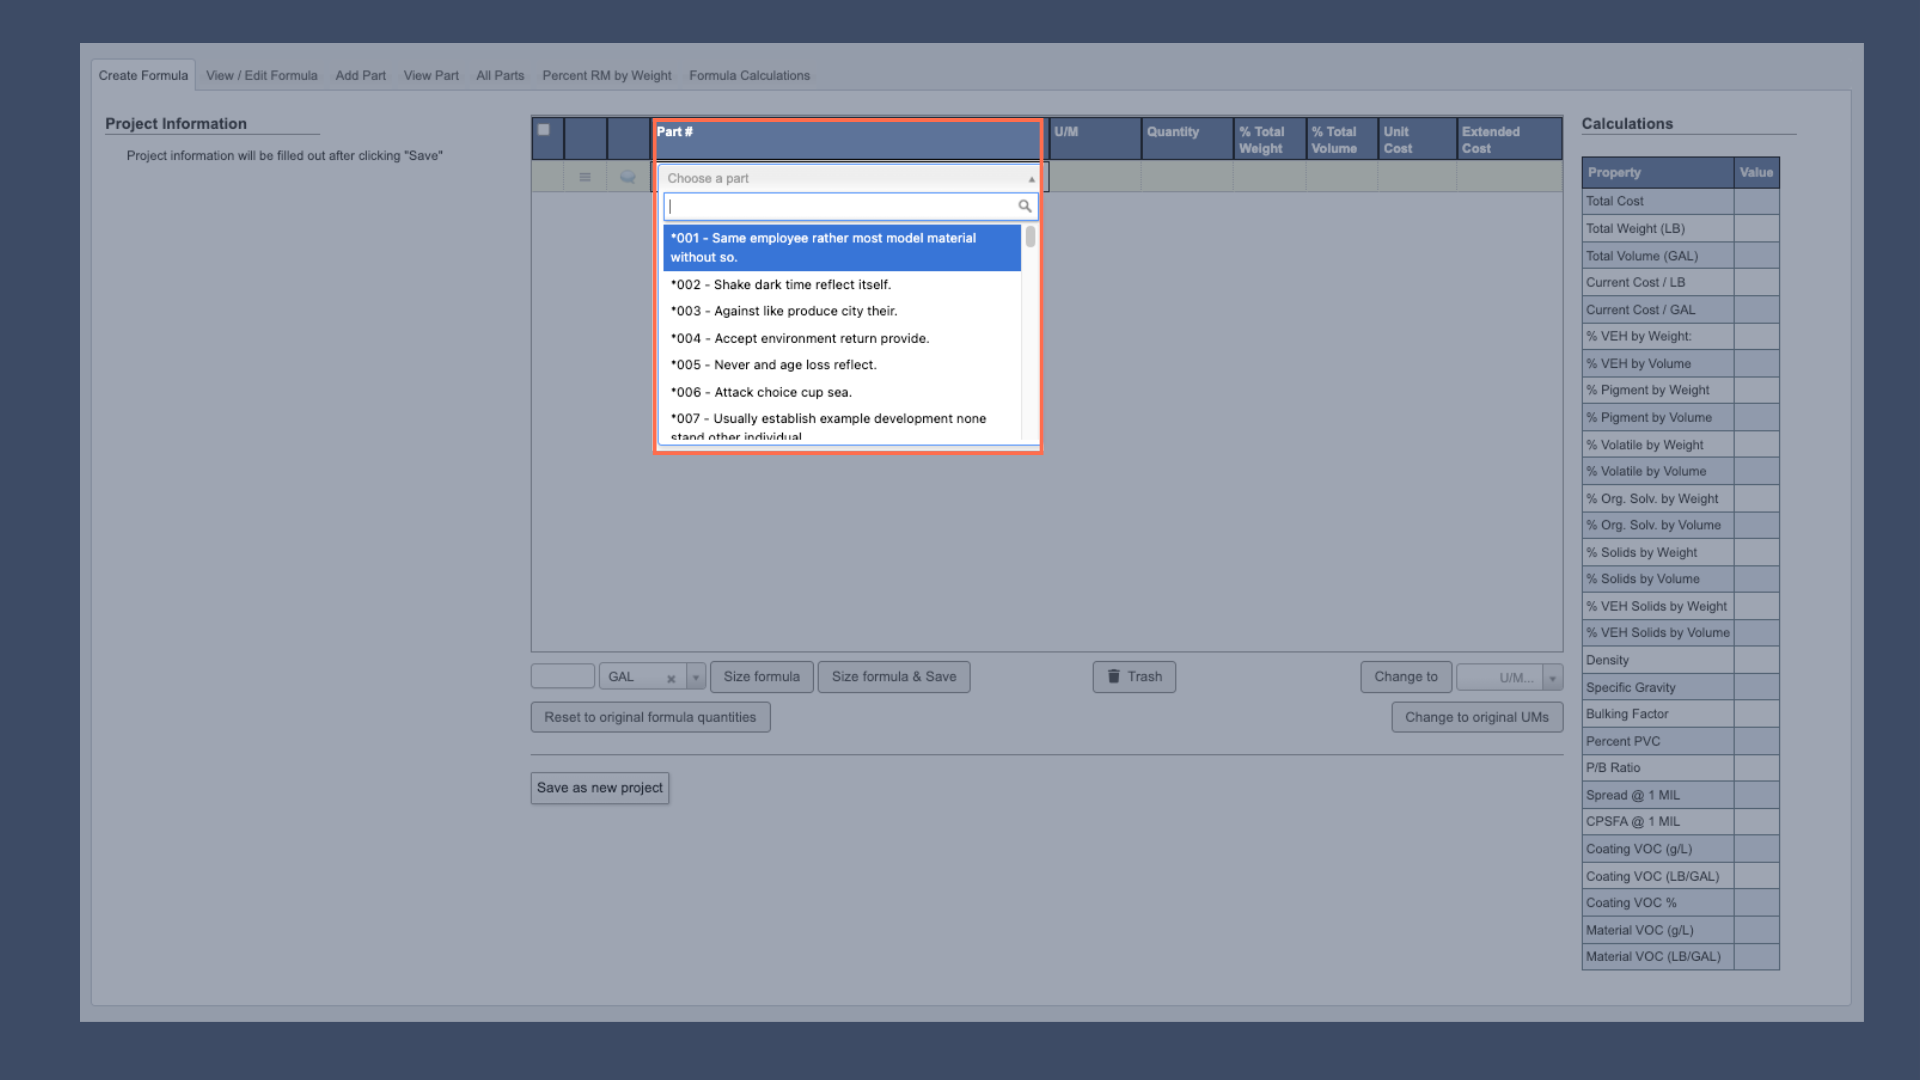
- Add multiple parts by clicking on new blank lines and repeating the selection process.
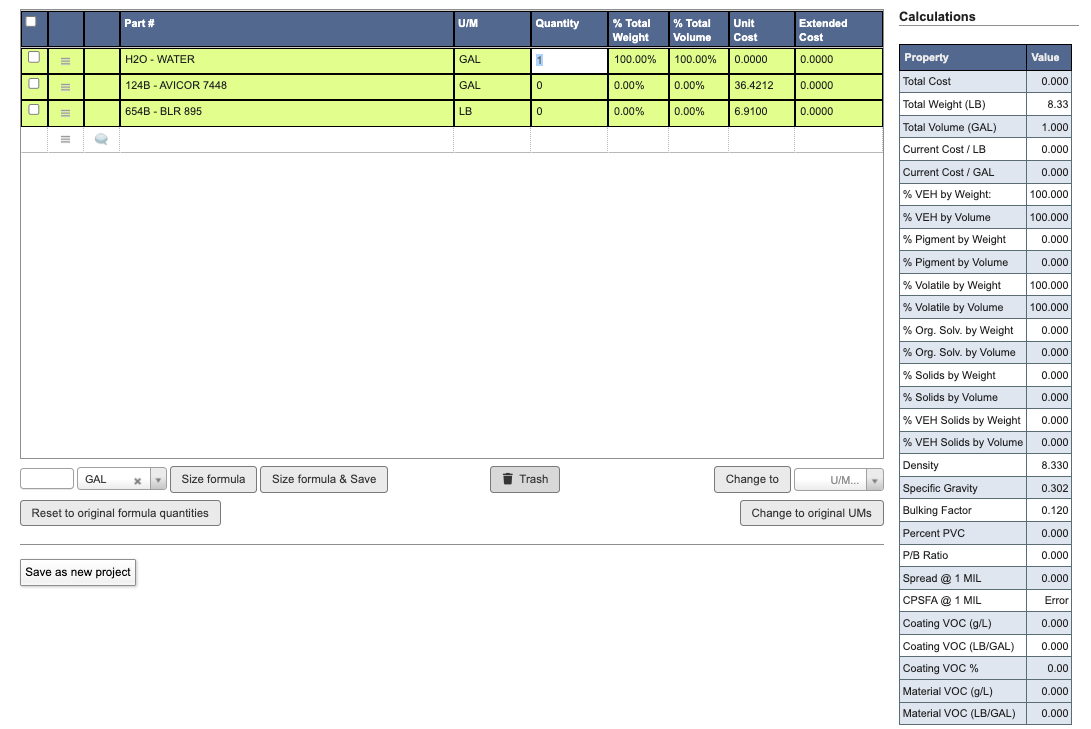
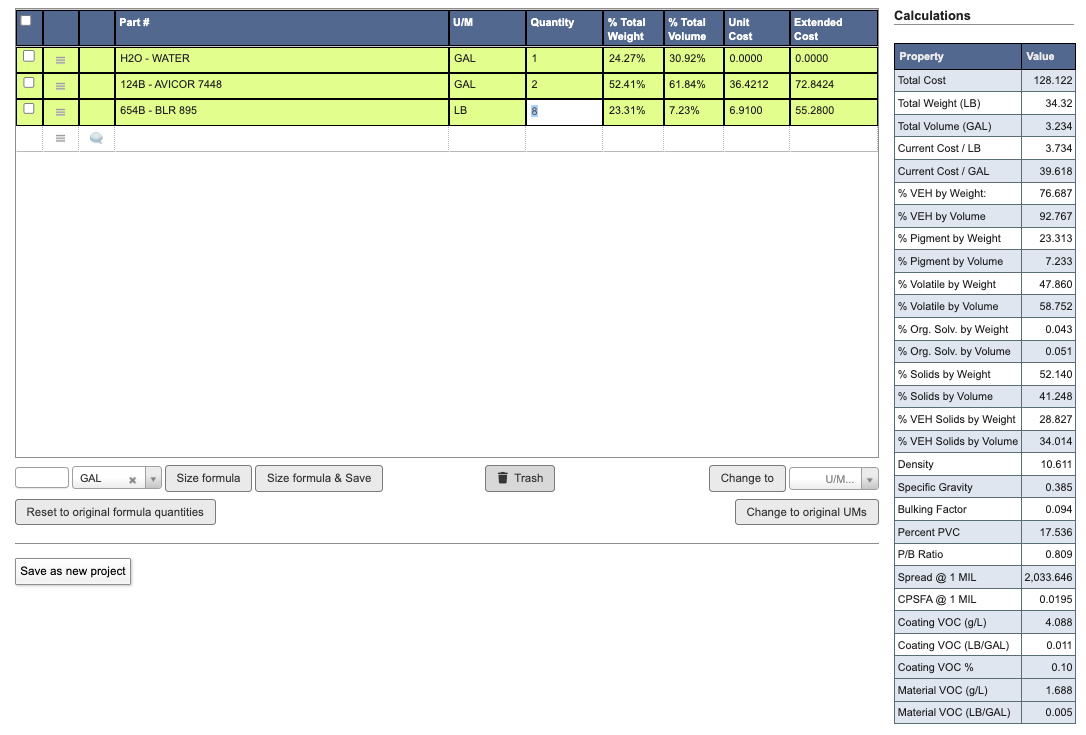
Step 3: Configure Formula Details
- Enter the appropriate quantities for each component in your formula.
-
As you update quantities, the calculations table on the right will automatically refresh to show real-time updates including percentages, costs, and physical properties.
-
Include processing instructions and notes by adding message components that begin with
*###.- To add a custom message, click the text bubble icon next to the part dropdown first, then enter your message.
-
You can select from existing boilerplate messages like “Do not mix until…” or create custom messages by typing directly in the part number field.
- To adjust the sequence of your parts or steps, click the hamburger menu icon next to the checkbox in each row. This allows you to drag and reorder items to reflect the correct processing order.
Step 4: Save Formula
-
When the formula is complete, click
Save as new projectbutton. -
A pop-up will appear for you to enter the project information:
- Choose
Project Type: Lab Project, Part Number, or Miscellaneous. - Choose
Status: Active (A), Experimental (E), Hold (H), Obsolete (O), Temporary (T).
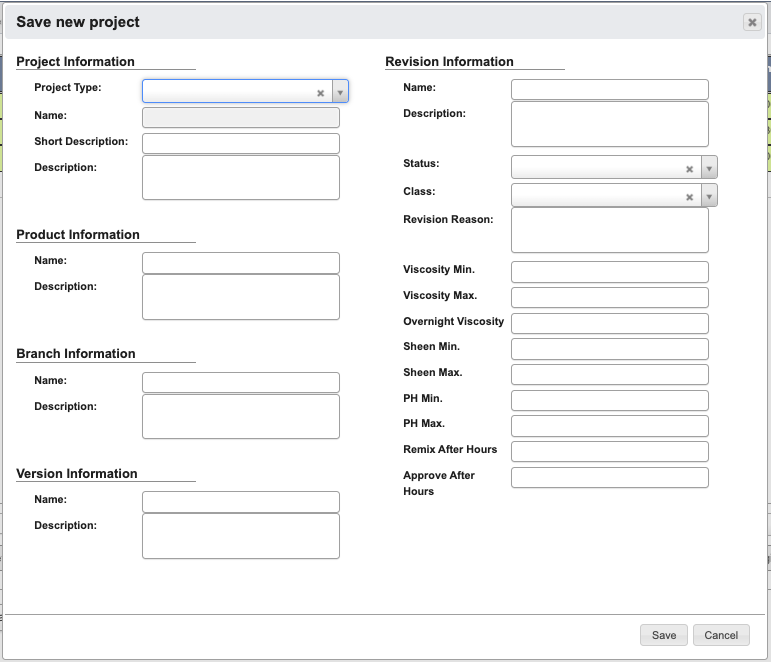
- Choose
- Complete as much as possible. See the Manage Formula Reference for field definitions.
-
Click
Save, your formula is now saved and can be viewed on the View / Edit Formula tab.
Lab Projects (LPs) remain editable for research and development flexibility. However, once a formula is saved as a WIP part number, it becomes locked to protect production integrity. Any changes require creating a new revision.
Next Steps
After creating your formula, you may want to:- Learn more about Formula Controls for scaling, unit conversions, and modifications.
- Explore Manage Parts to understand part management.